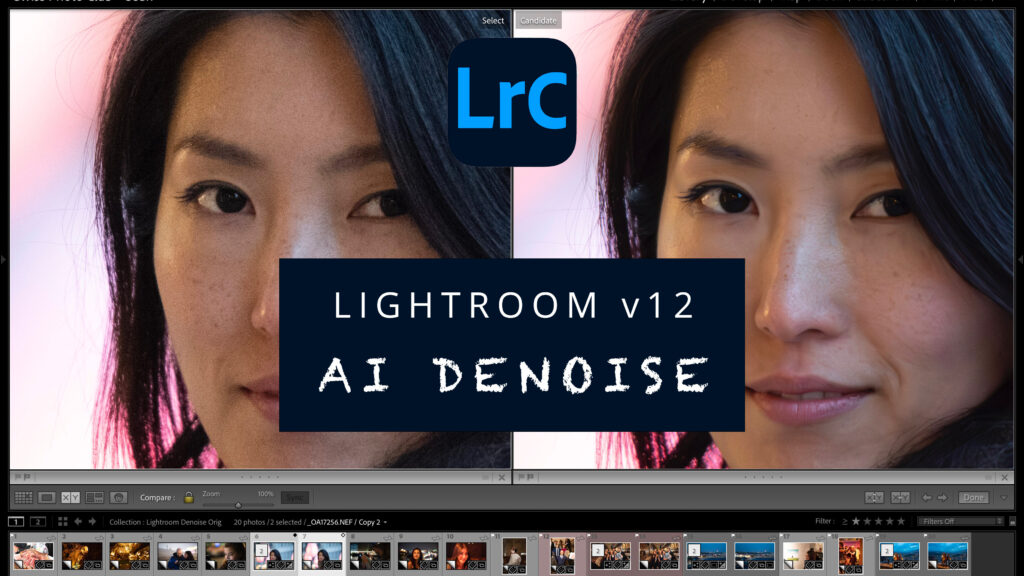
Lightroom has just launched its new AI-powered feature that removes noise from your existing RAW images with incredible results! Check out my review below. I added the before and after images below.
Here’s a step by step guide:

How to remove noise from images using AI-powered Denoise by Lightroom Classic v12.3
Open the RAW version of your photo. From the menu, select Photo > Enhance or select Denoise in the Develop / Detail panel.
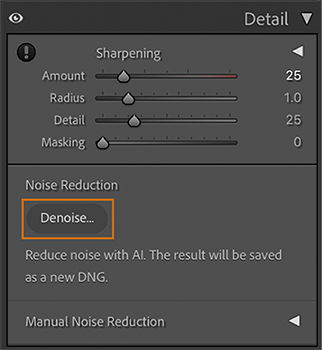
Select Denoise in the Detail panel to reduce noise.
Select Denoise to enhance your image.
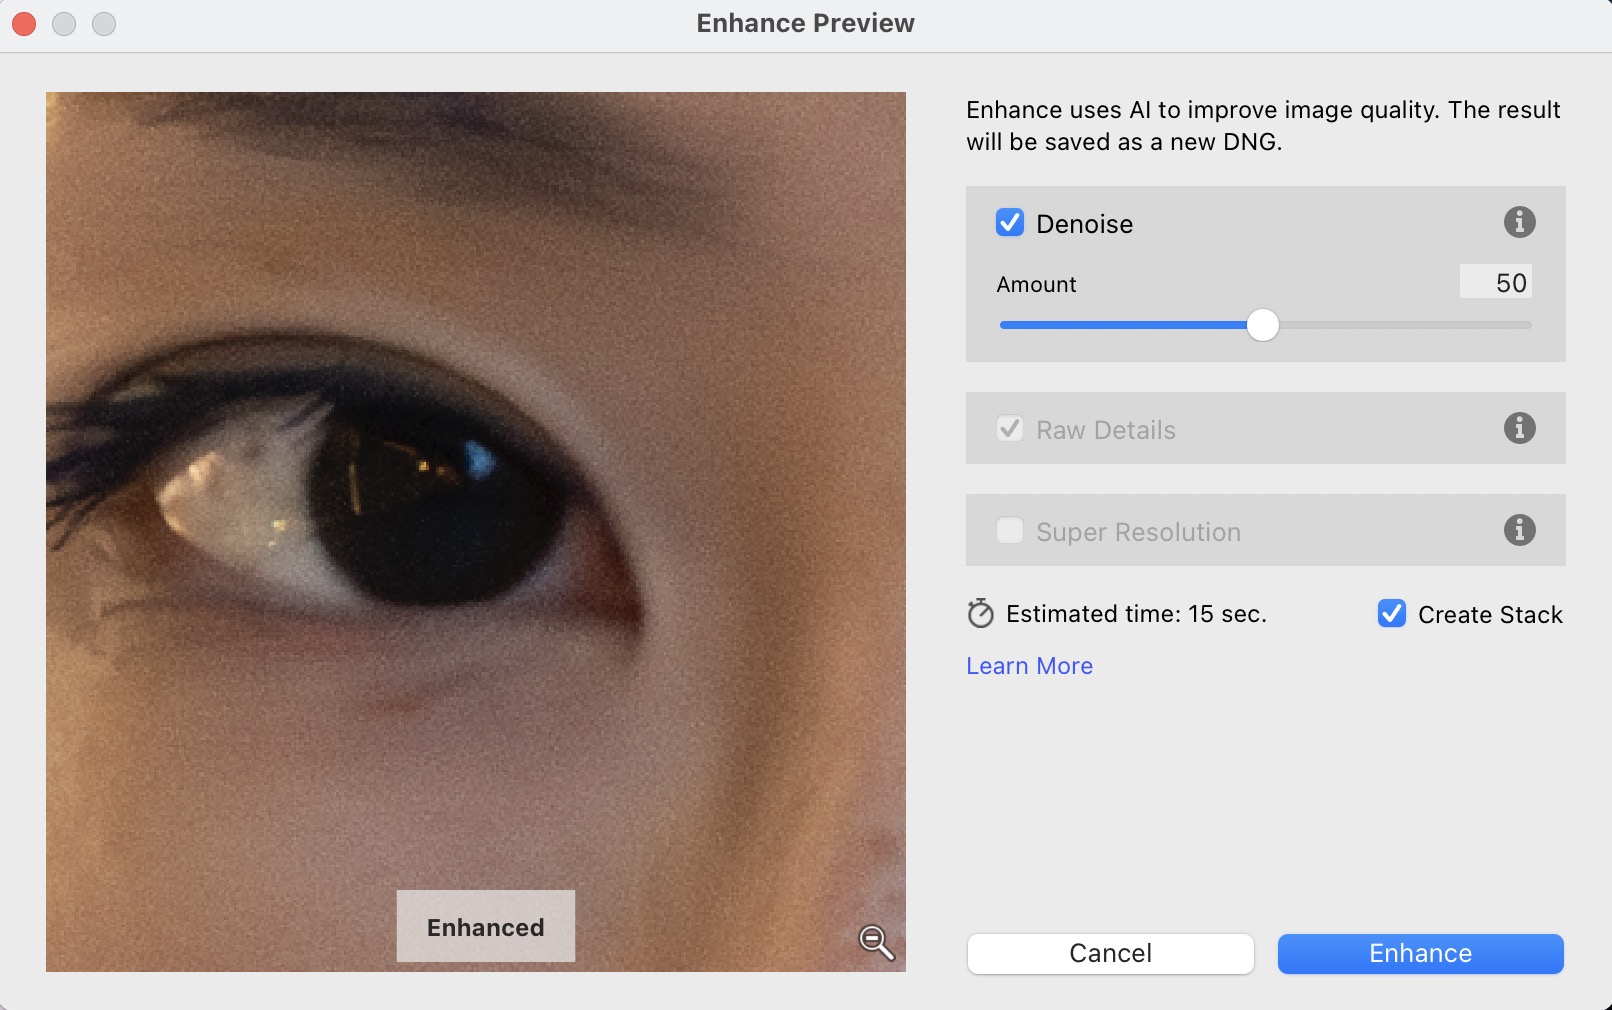
Holding Alt or Option while selecting Denoise from the Detail panel will set the intensity of the slider to the last set Amount value.
You can press and hold on to the preview area to view the changes made to the image.
Click Enhance to process the image as a new DNG file.
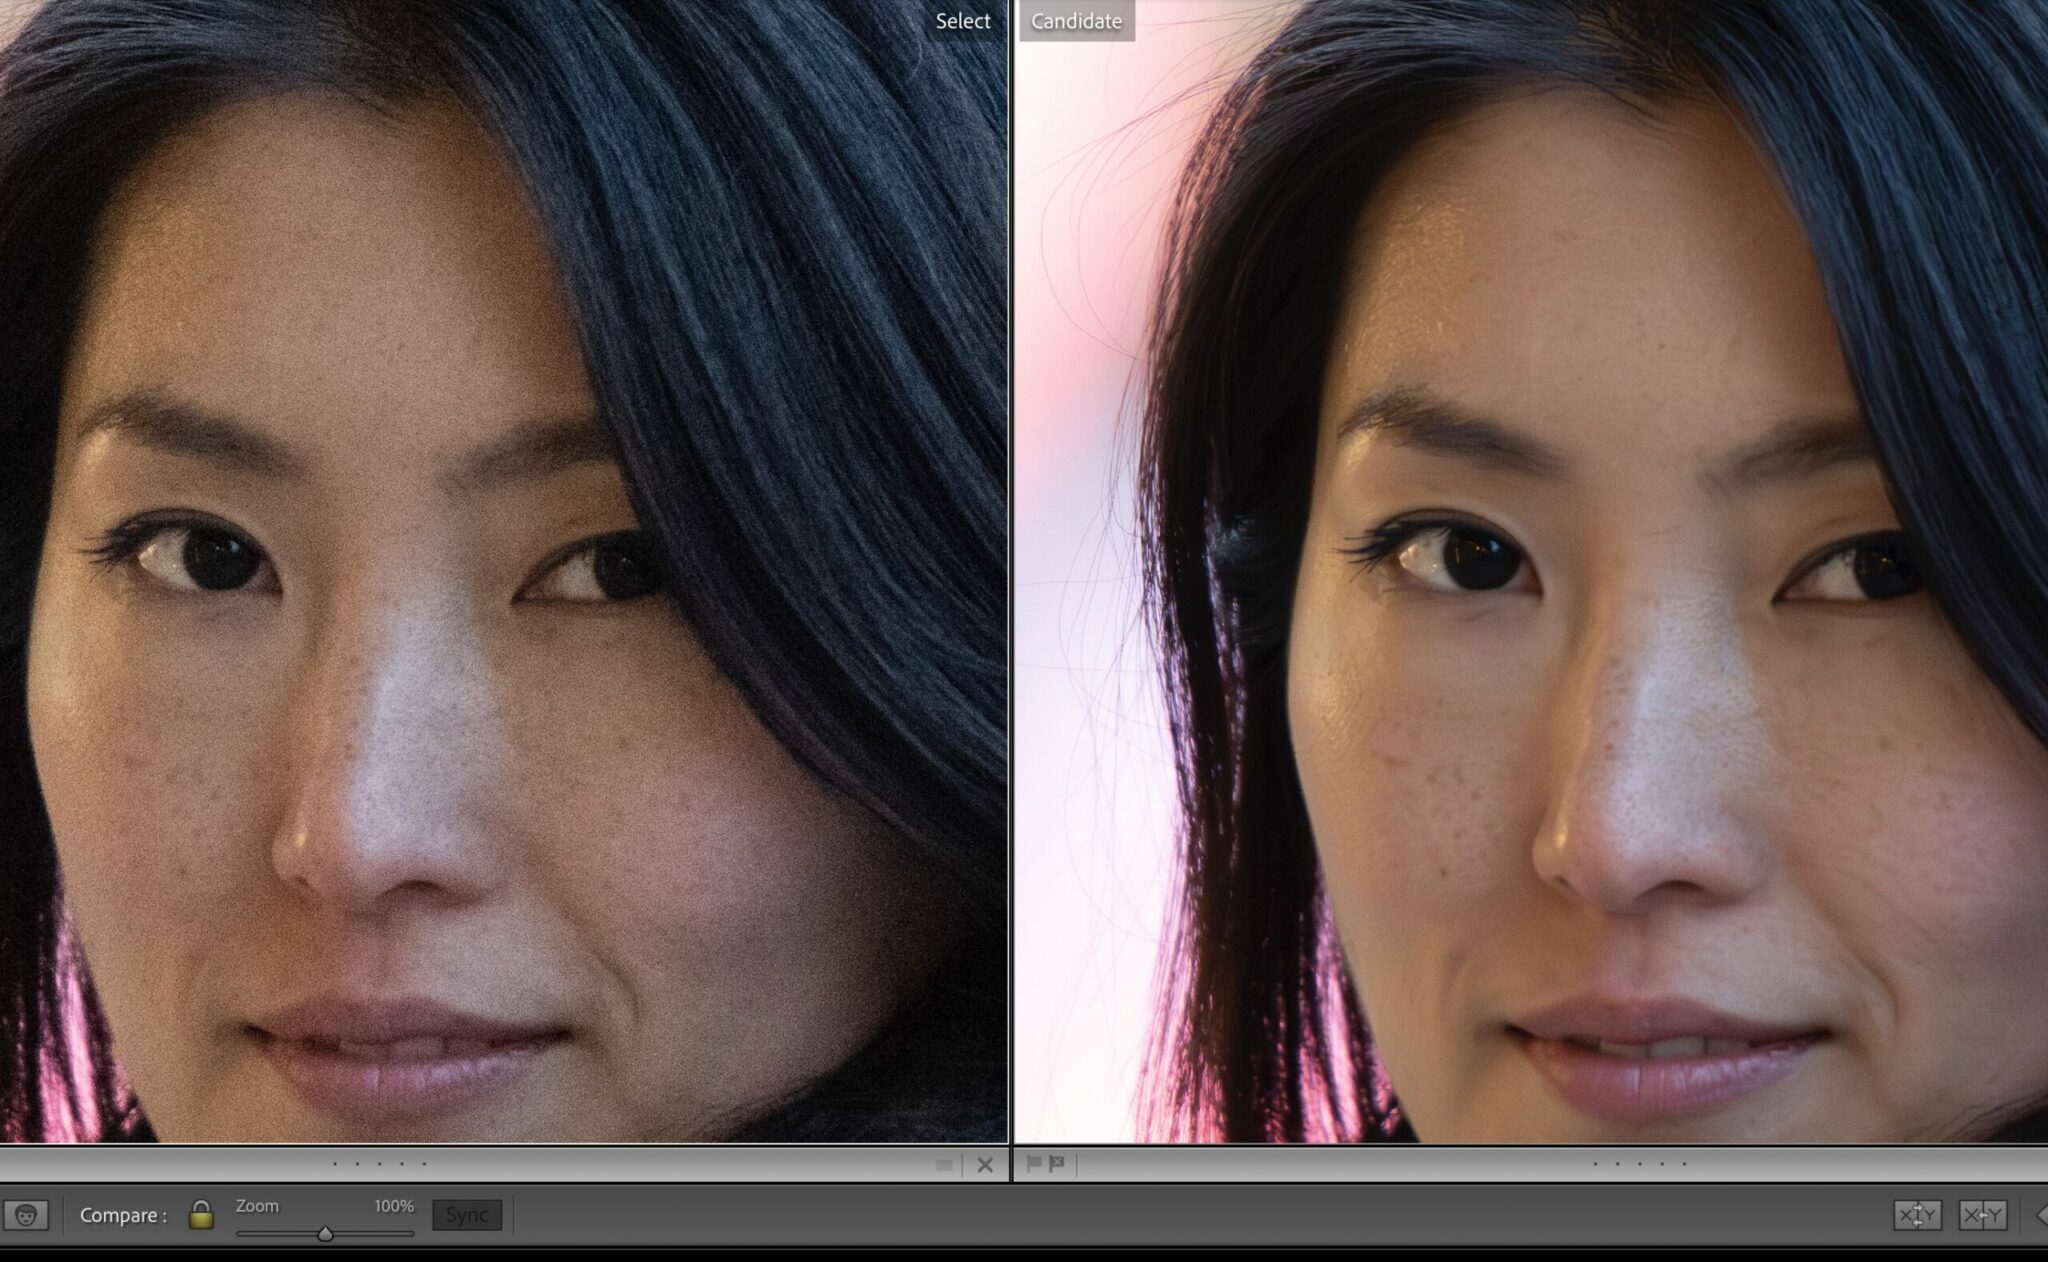
The enhanced image is saved as a new DNG file with the filename in this format: <Original filename-Enhance-NR.DNG> and is placed next to the source image.
If you would like to learn about all the important features of Lightroom in person, checkout our Lightroom full day course or book a private course with us. We will cover all you need to know plus our recommended workflow and file handling strategies.

