
With Adobe’s new release as of May 21st, 2024, we have two exciting features in Lightroom & Lightroom Classic that we wanted to share. If you would like to try these new features in person, join one of our upcoming Lightroom classes in your city. You can download Lightroom along with Photoshop from the Adobe Swiss Store.
Generative Remove:
After a long wait, Adobe has finally announced the first-ever generative AI in Lightroom with Generative Remove.
With this tool, you are now able to remove anything in your photo with one touch, using AI technology. Previously, this was only possible in Photoshop, so we are now very happy to see it in Lightroom.
Here is how it works:
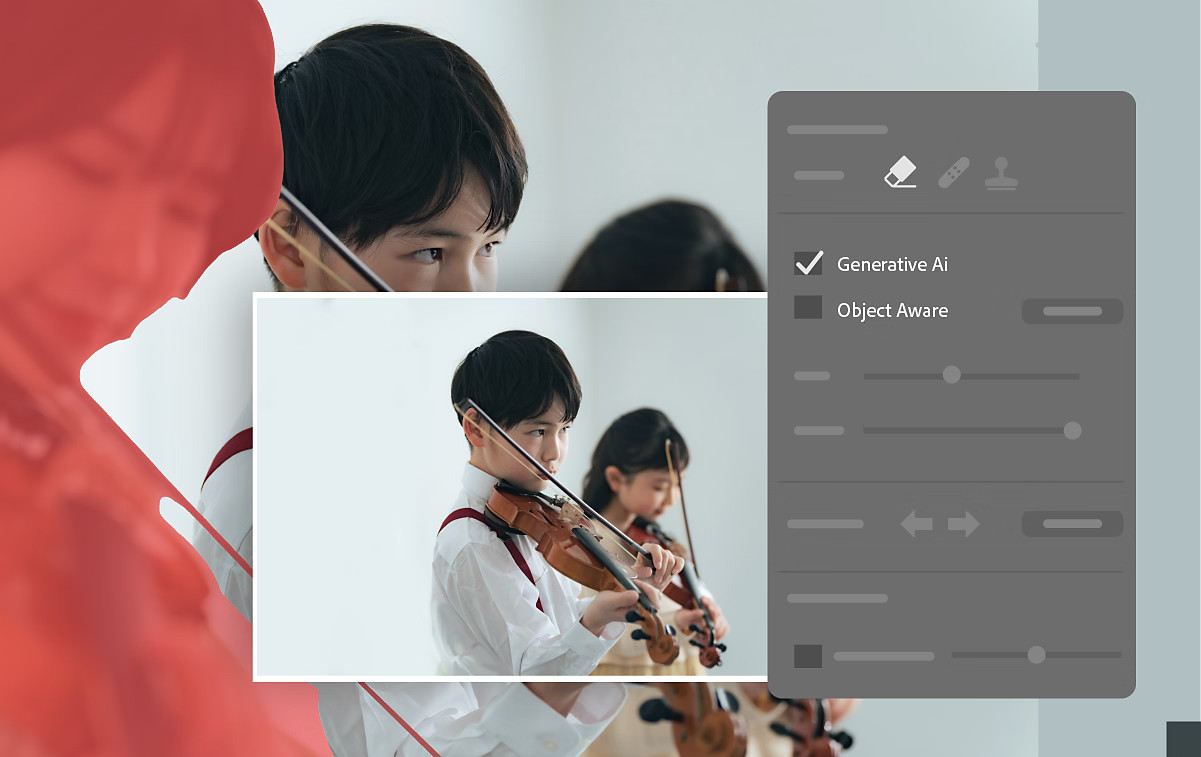
1. In the Develop module, select Remove (Eraser icon) > Generative AI:

2. Brush over the object you want to remove. Adjust the brush Size and the overlay Opacity to select with precision. Use Add or subtract after making the selection to refine. In the photo below, there is someone in front of my camera that blocks the full view of the dancers:

3. Final result is quite impressive:

Lens Blur:
AI-powered Lens Blur is now available in Lightroom Classic. Quickly add aesthetic blur and bokeh effects to your photos and achieve a professional look by using adaptive presets. You can also batch copy-paste Lens Blur settings to achieve a consistent look.
- You no longer need a special lens, a specific phone, or the right setting to achieve the popular blurred look
- Blur any part of the photo by controlling the depth of field
- 7 new Lens Blur presets automatically apply blur on portraits, cityscapes, and street/urban photography
- Create a preset of a Lens blur effect you like and apply it to more photos in the future
Let’s work on the photo above where I could not isolate the spectators close to the dancers as there were almost the same distance vs the couple.
Lens blur > Apply. It takes a few seconds to detect the subjects in the photo. Unfortunately, it didn’t work very well on the first try:

In these cases, I recommend using the Visualize depth and then focus range to select only what you want in focus, then make sure the remaining is “blue”:

This looks much better but the male dancer’s suit is being blurred and the lady on the left is still too much in focus.
So here, I used the “focus” brush to paint his suit and the “blur” brush to paint the lady on the left:

Final Result:

I hope you find these new changes useful! We have already updated our Lightroom course materials with these newest features. Check out the upcoming classes in your region at our course page:


