Adobe has added some amazing features in the last year to both Lightroom and Photoshop, which should make your workflow easier and more efficient. In this short article, I will quickly summarize the new features in Lightroom that I found the most helpful and share some examples with you.
Make sure to update your Lightroom and Photoshop to the latest version using your Creative Cloud App to see all these new features.
We have of course updated the curriculum of both Lightroom Classic course and Photoshop course with these new features. I have also added a practice workshop (join in person or by zoom) to go through these features if you already know Lightroom. Check them out if you would like to learn from our experienced instructors and get immediate feedback from them as you work on your photos.
If you don’t have Lightroom yet, you can purchase it together with Photoshop (select Photography package) from the Swiss Adobe store.
Color Grading (Oct 2020, v10)
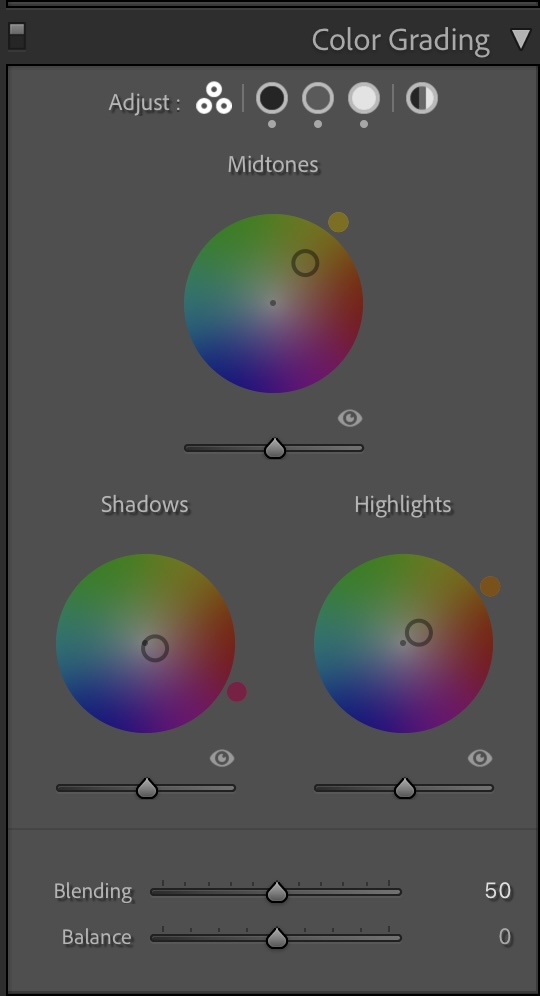
This new panel replaced the “split toning” panel with much more powerful “color wheels”.
Color grading is used to create specific moods in your photos. It requires an understanding of the color wheel and the rules of color harmony.
You can add blue hues to make a picture appear cold, or try yellow and orange to make it look warm. Remember the North scenes in Game of Thrones that looked all blue? Or a happy / sweet scene tinted pink? It’s done on purpose to take advantage of the psychological effects that colors create. On this page, you can see how some famous movies used color grading.
We cover color theory and how to use it in photography in our intermediate evening course.
How to use:
- Decide on the mood you want to create
- Select shadows / midtones or highlights to start with
- Use the corresponding color wheel to apply the color of your choice
- Do the same for mid tones and highlights
- Adjust blending and balance sliders to refine how these colors apply
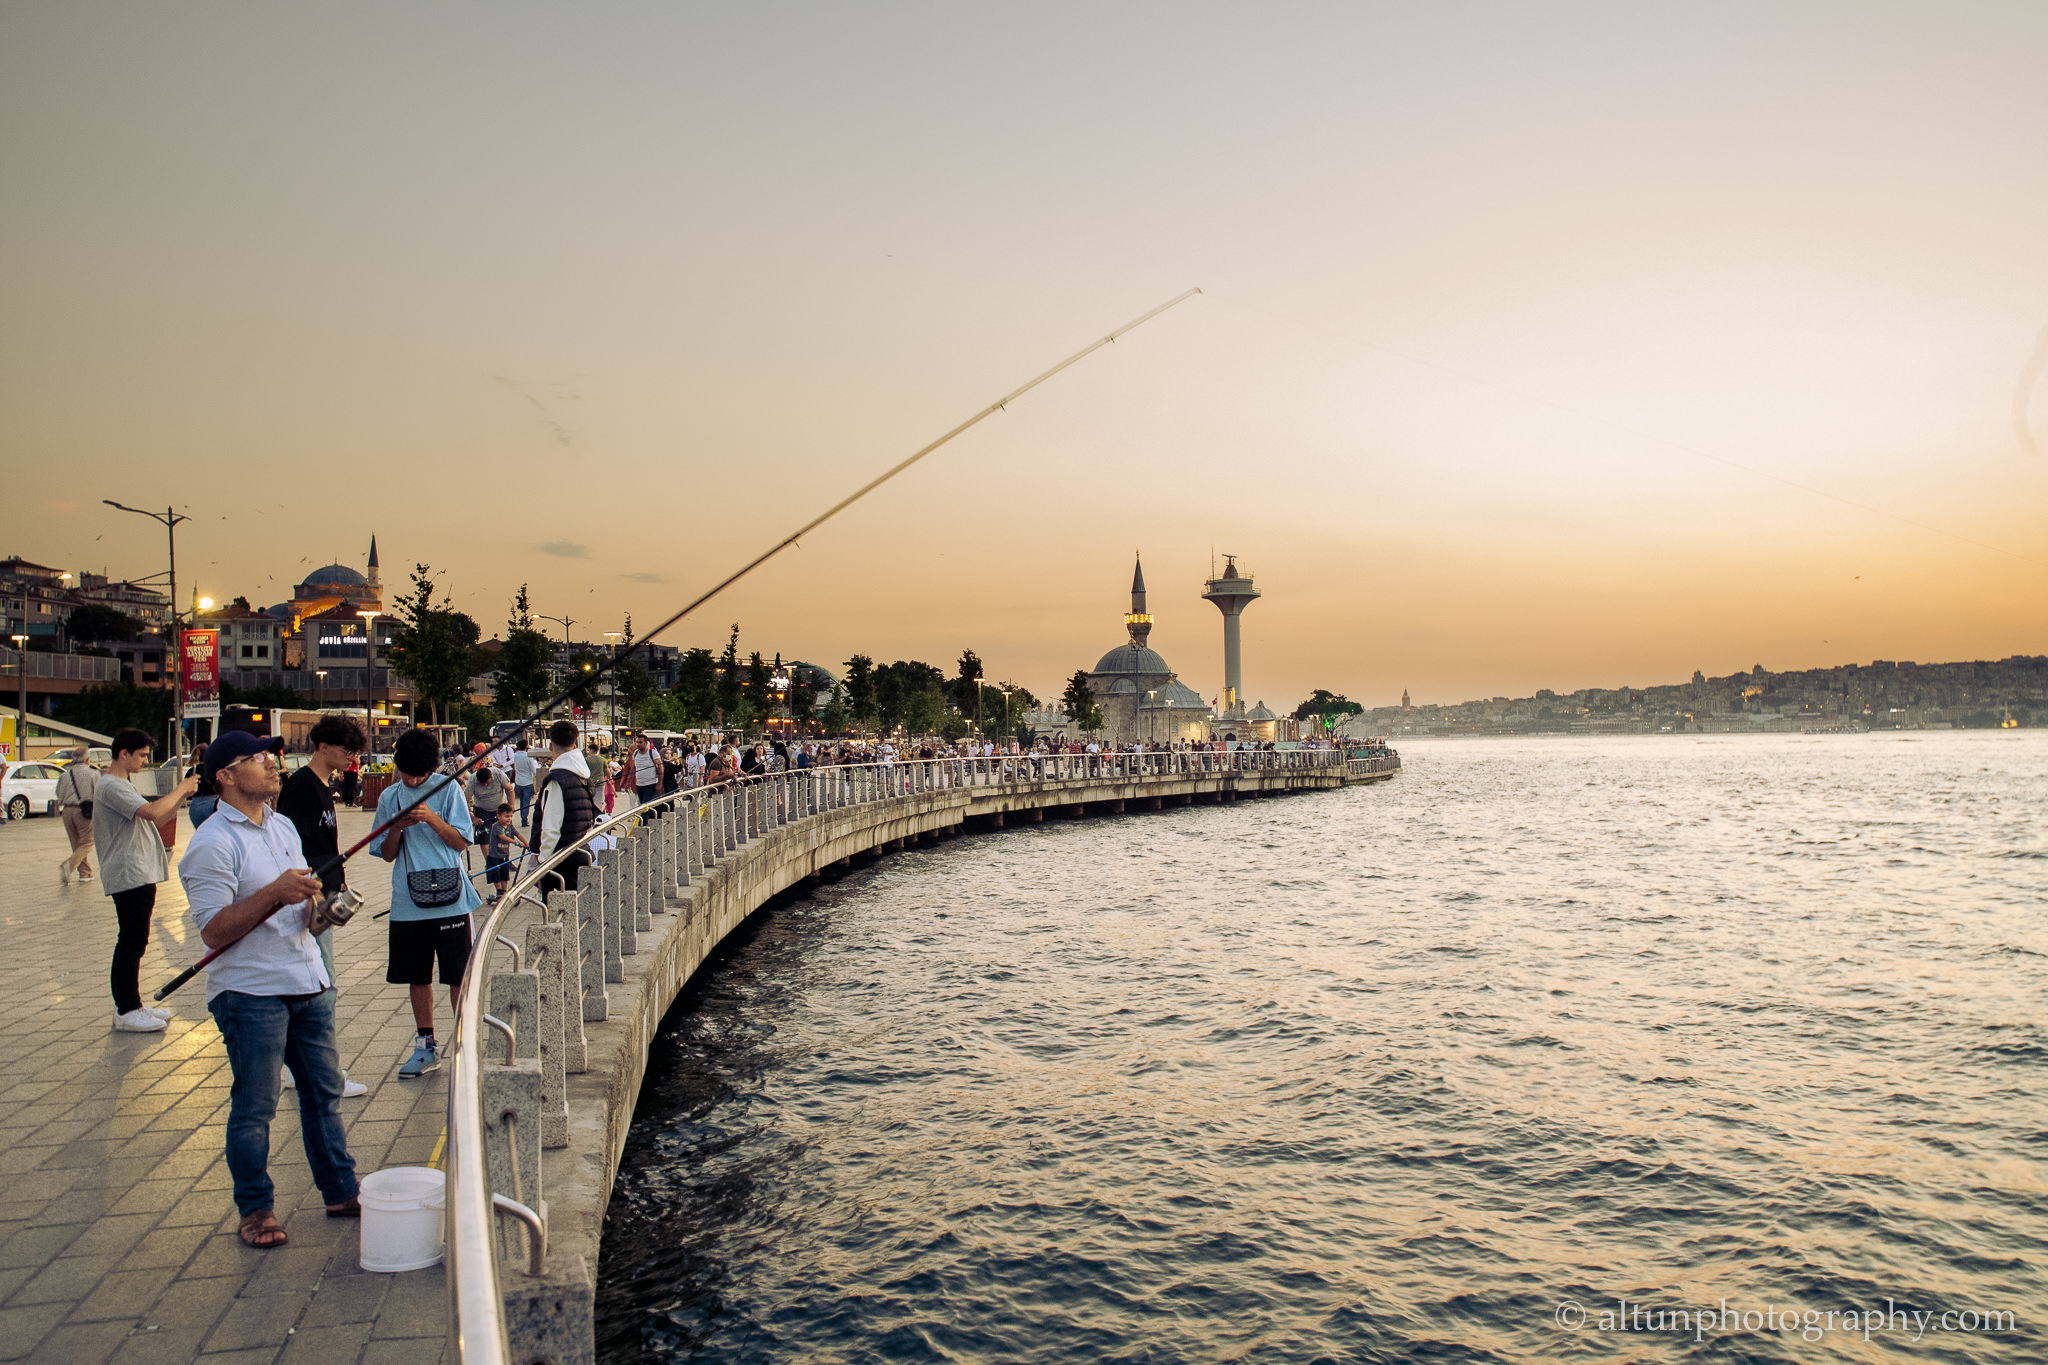
Here’s an example from a previous Istanbul trip where I used complementary colors to improve contrast:

Super Resolution (v10.3 – June 2021)
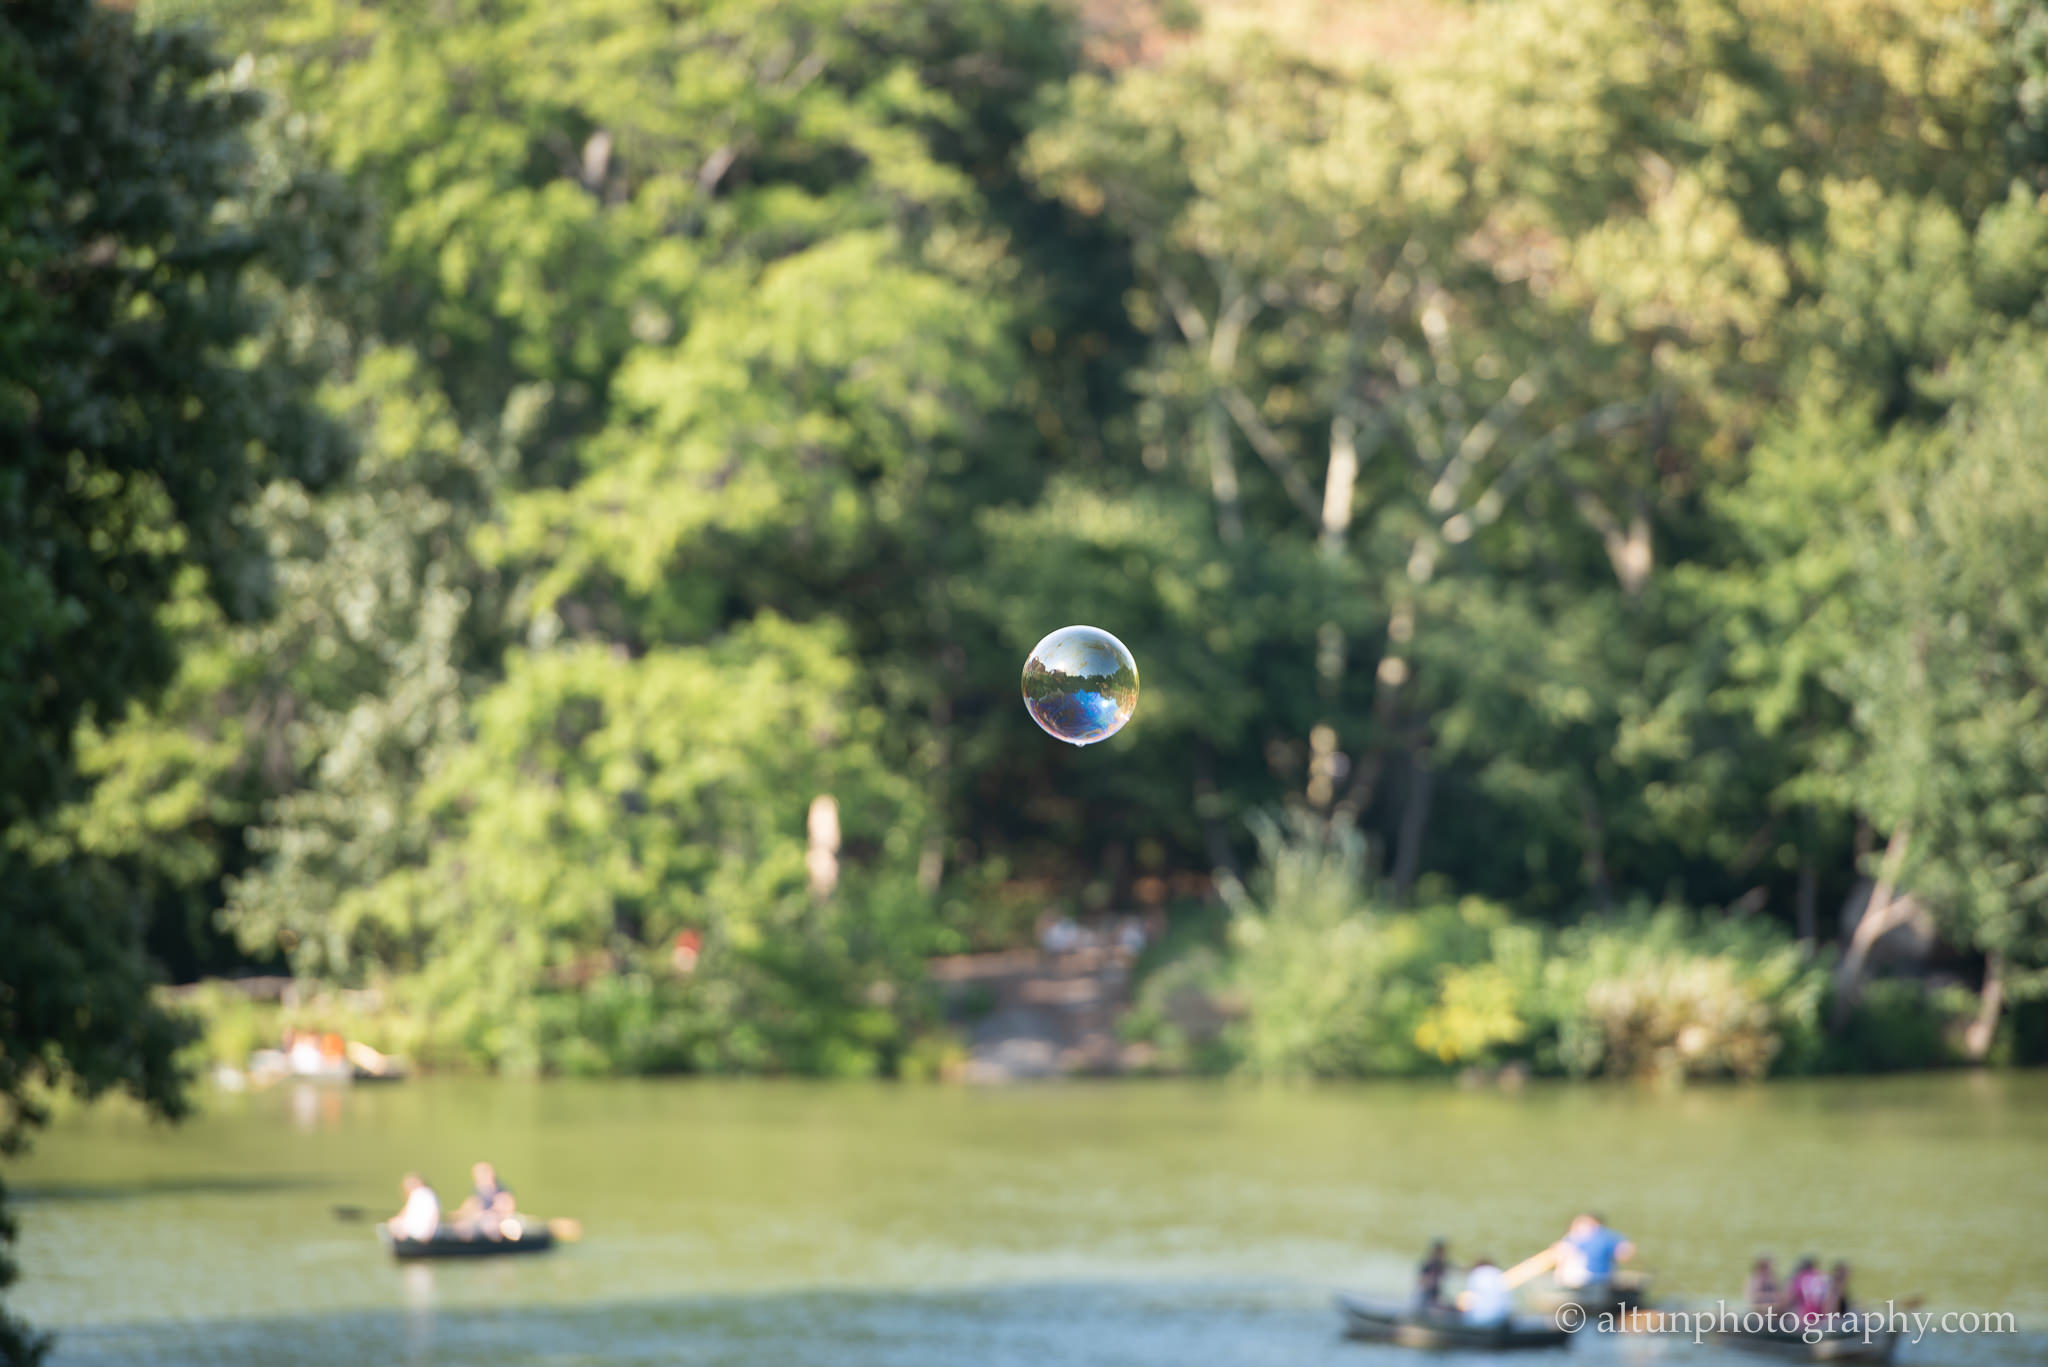
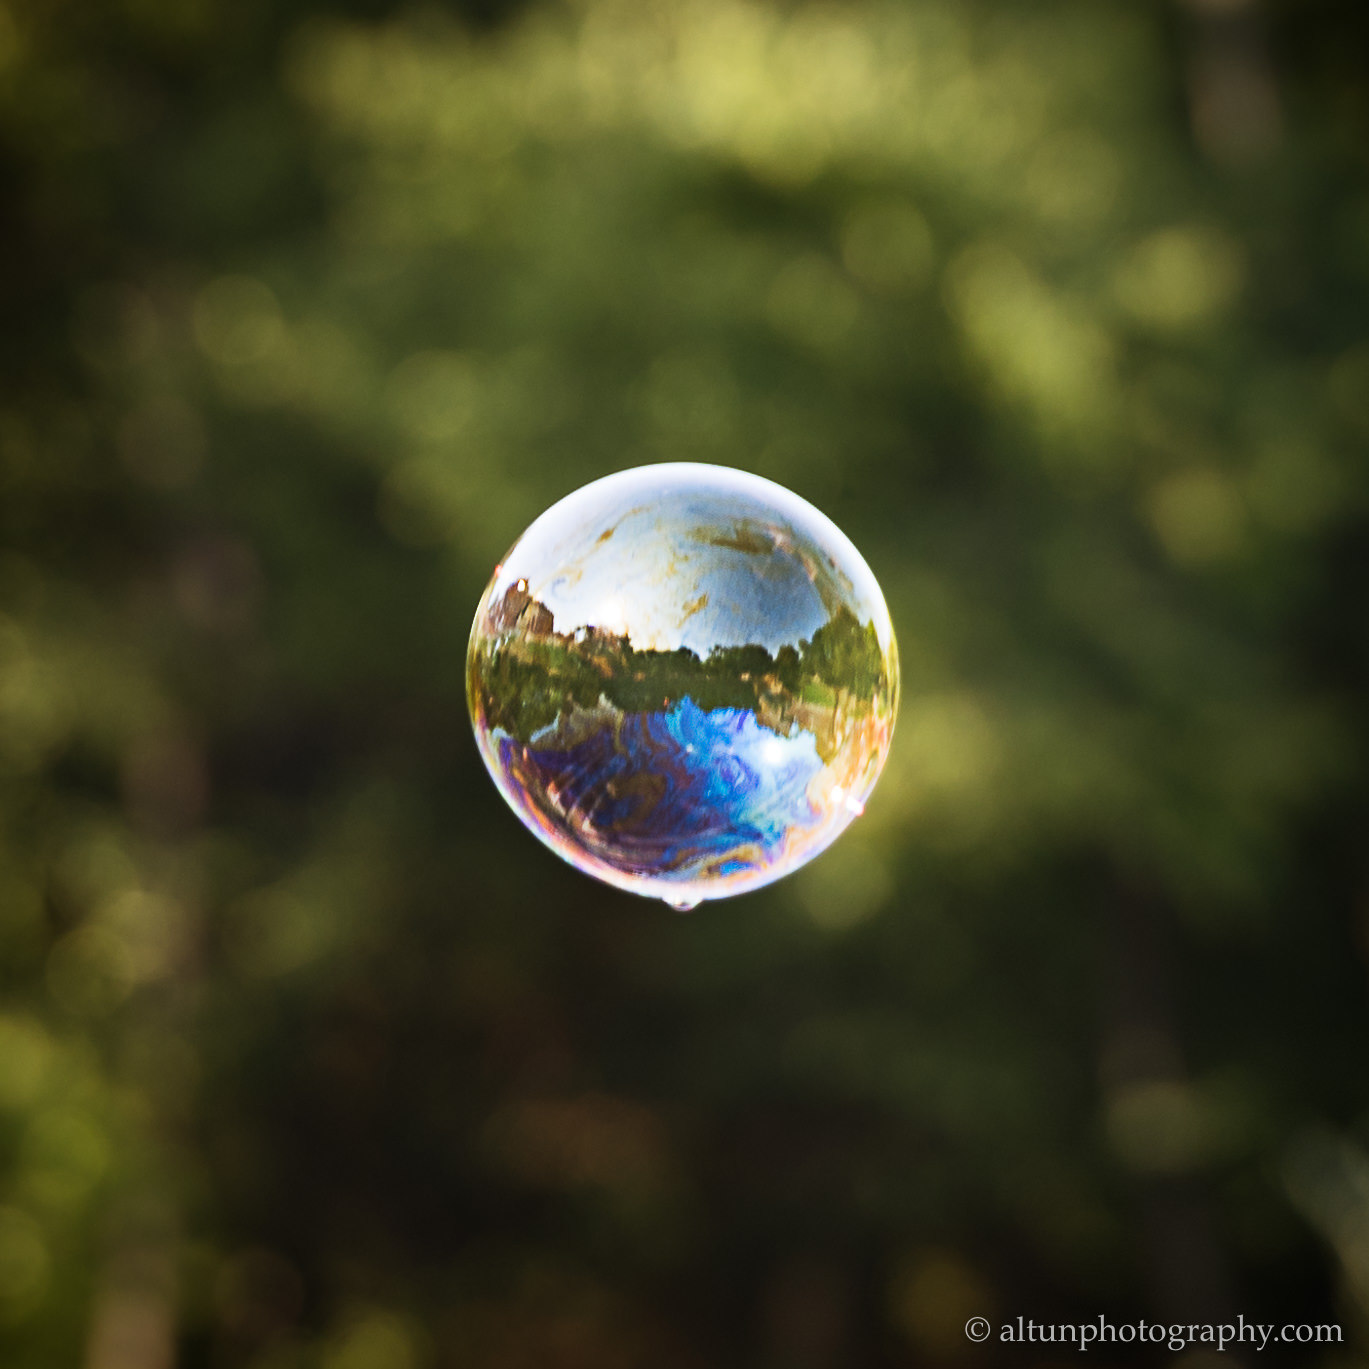
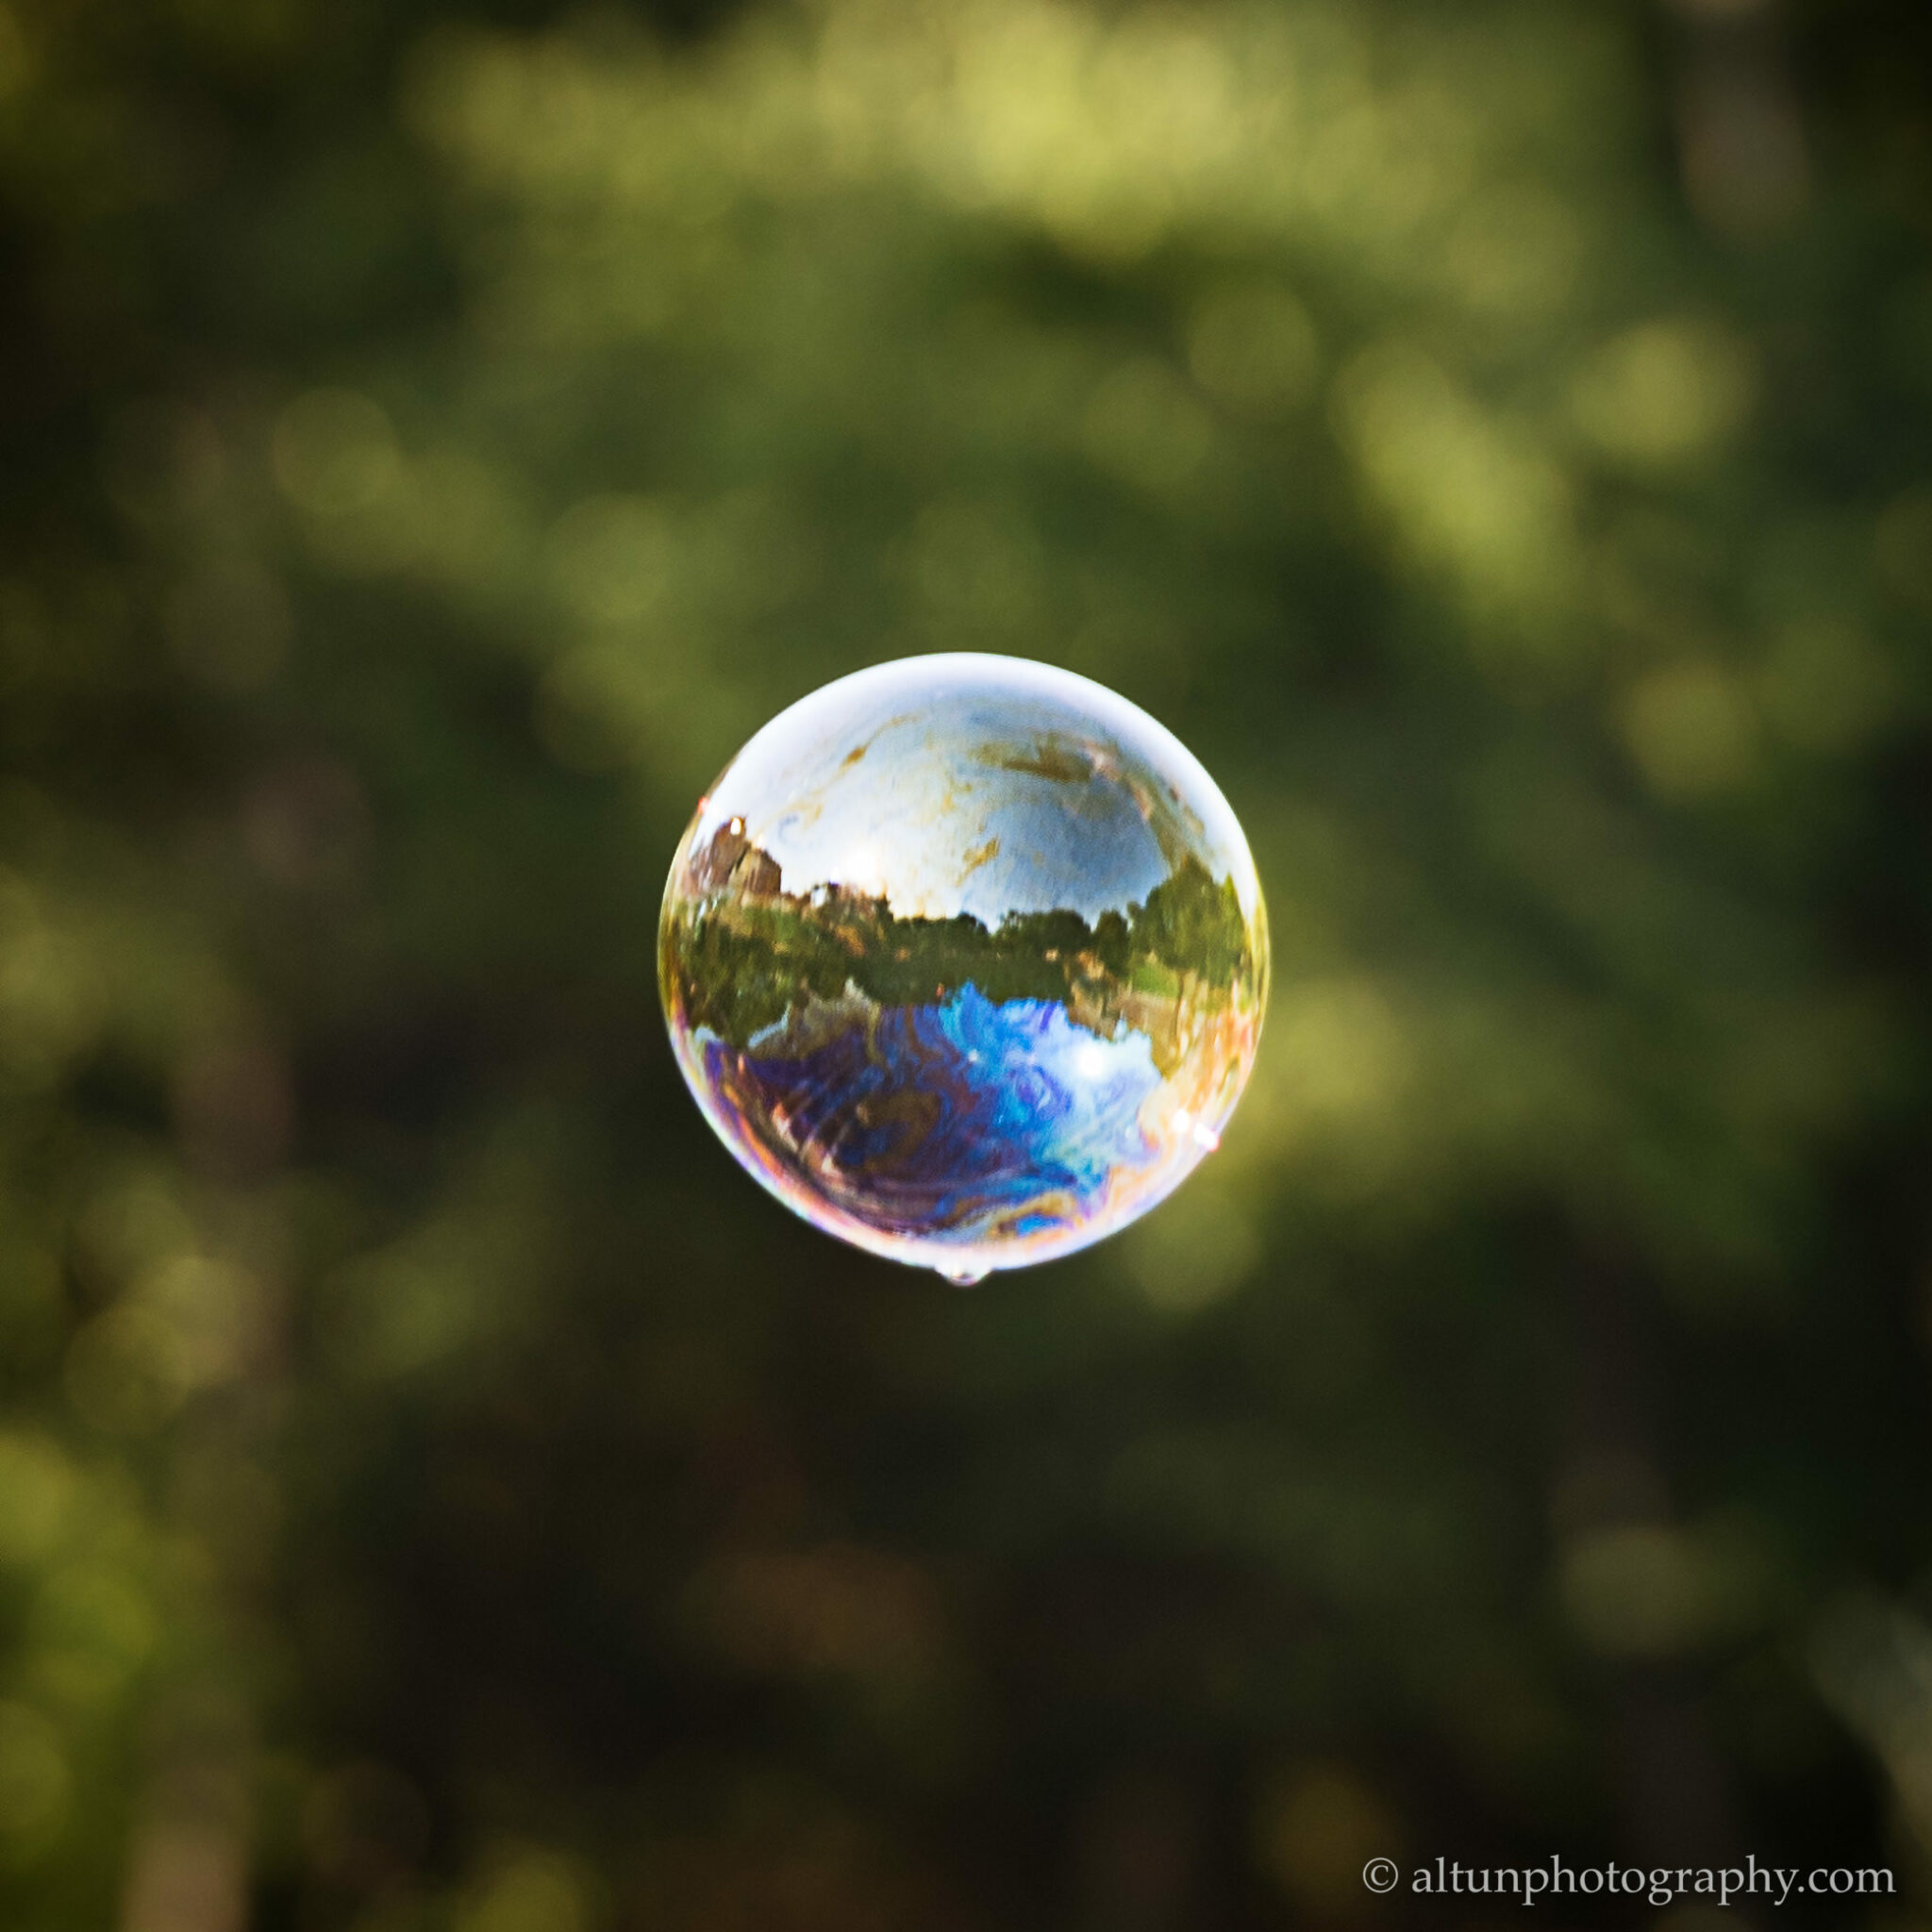
This is pure voodoo magic! Lightroom can now improve the resolution of your photos by 4 times without any visible giveaways. It’s perfect if you had to crop your photo aggressively and still want to print it in a big size. The final result is quite similar to the original.
It’s super simple to use: Development module, right click, Enhance. Here’s an example:
Automatic subject / sky selection (v11 – Oct 2021)
This impressive new feature was recently imported from Photoshop: Click a button and Lightroom selects your subject. Click another button and the sky is selected. If there’s anything to subtract or add to your selection, you can use the previous selection tools. Then you can immediately start applying adjustments to your image.
Here’s an example of subject selection on a photo taken at one of my Portrait Photography courses :
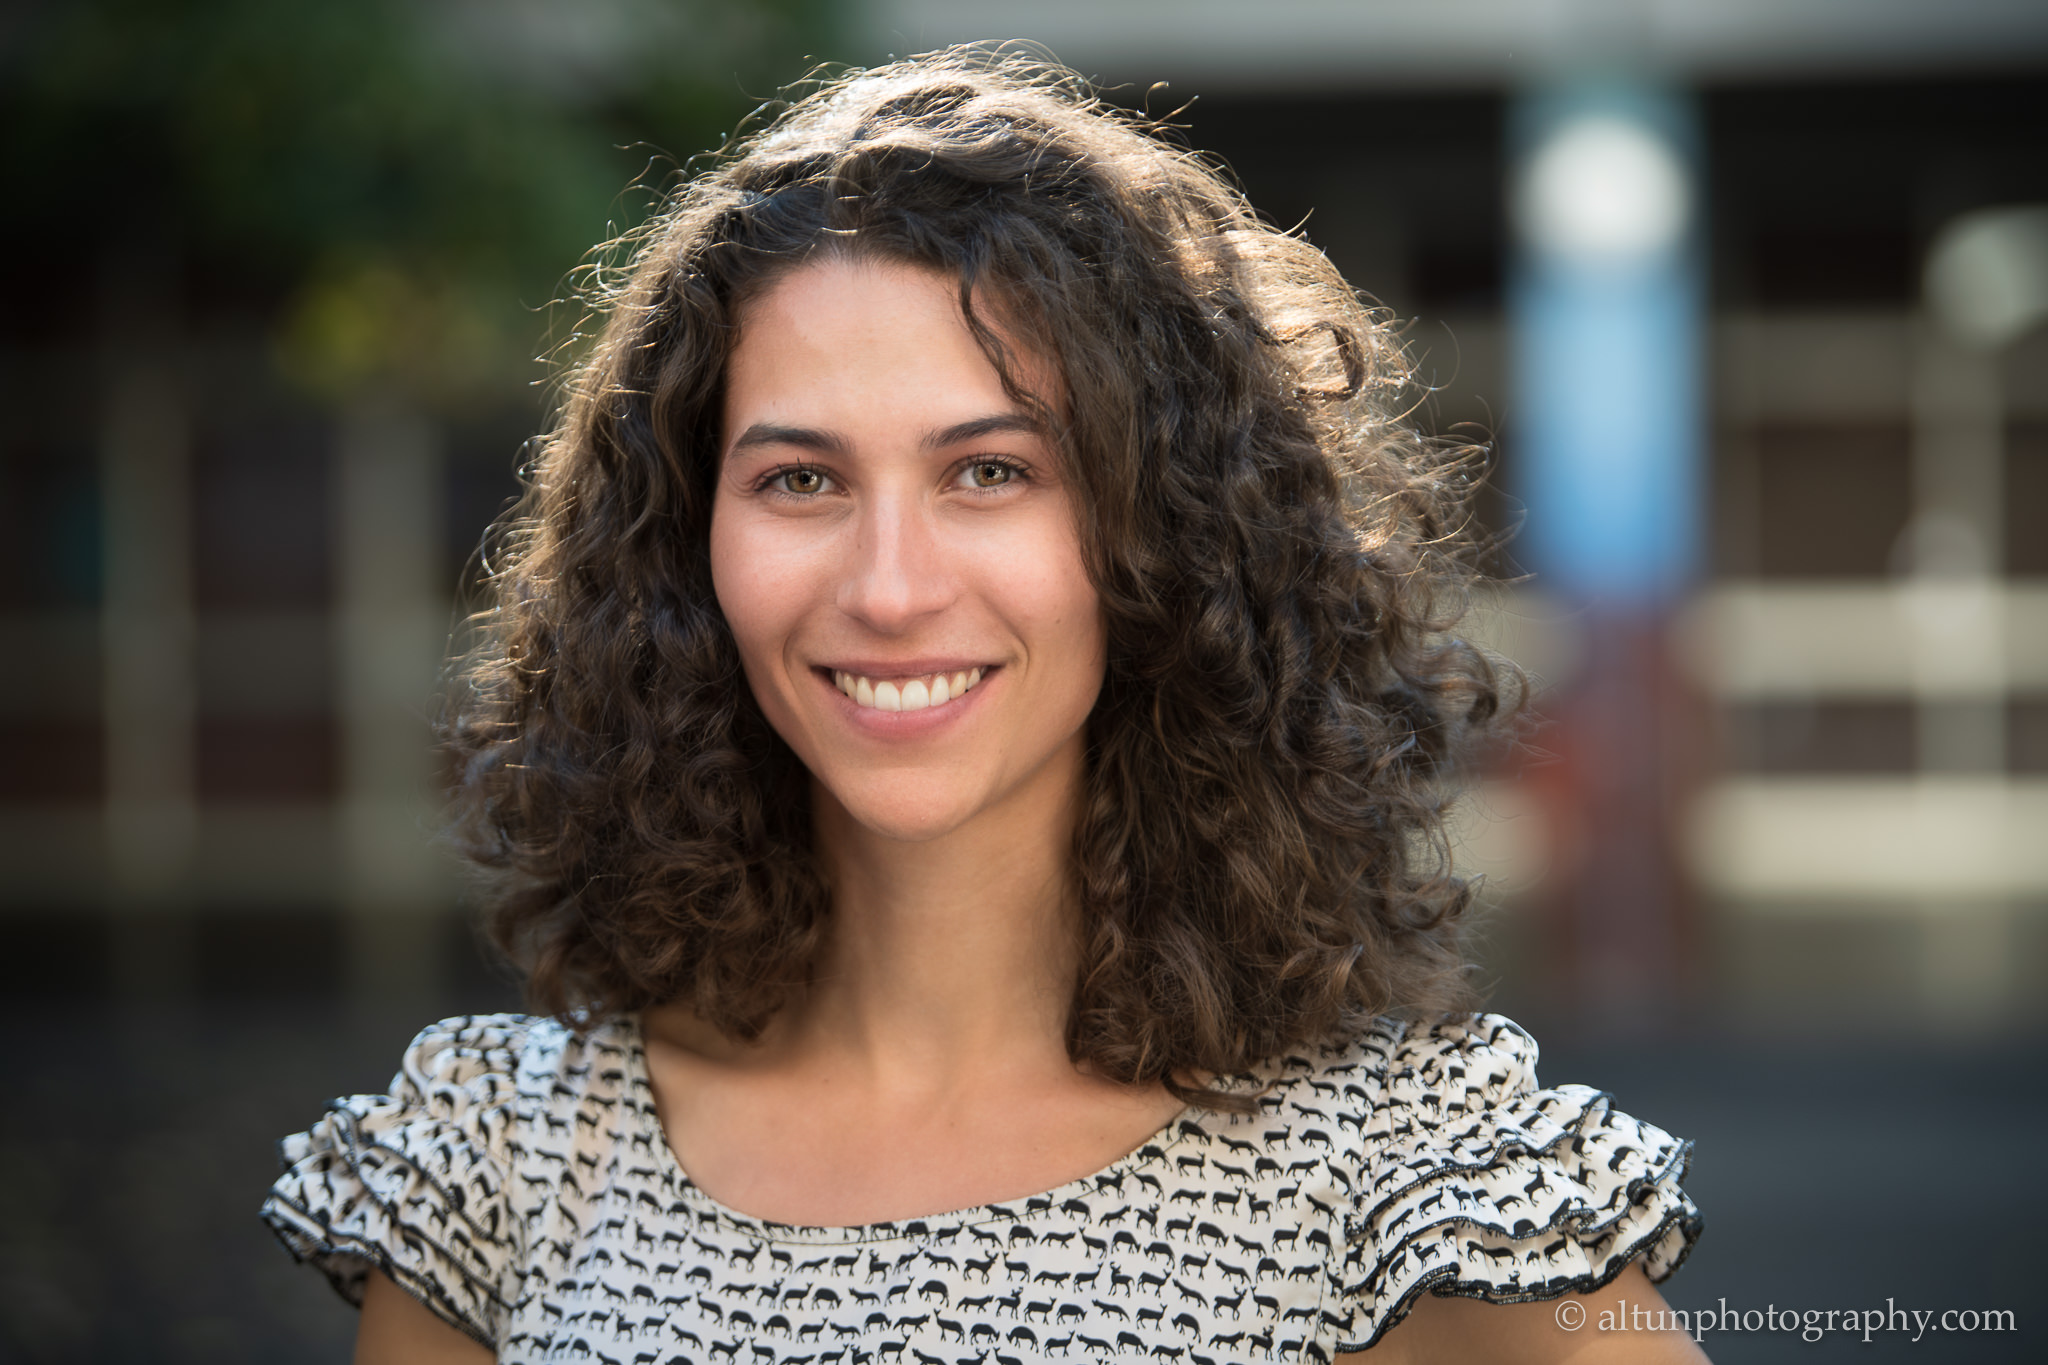
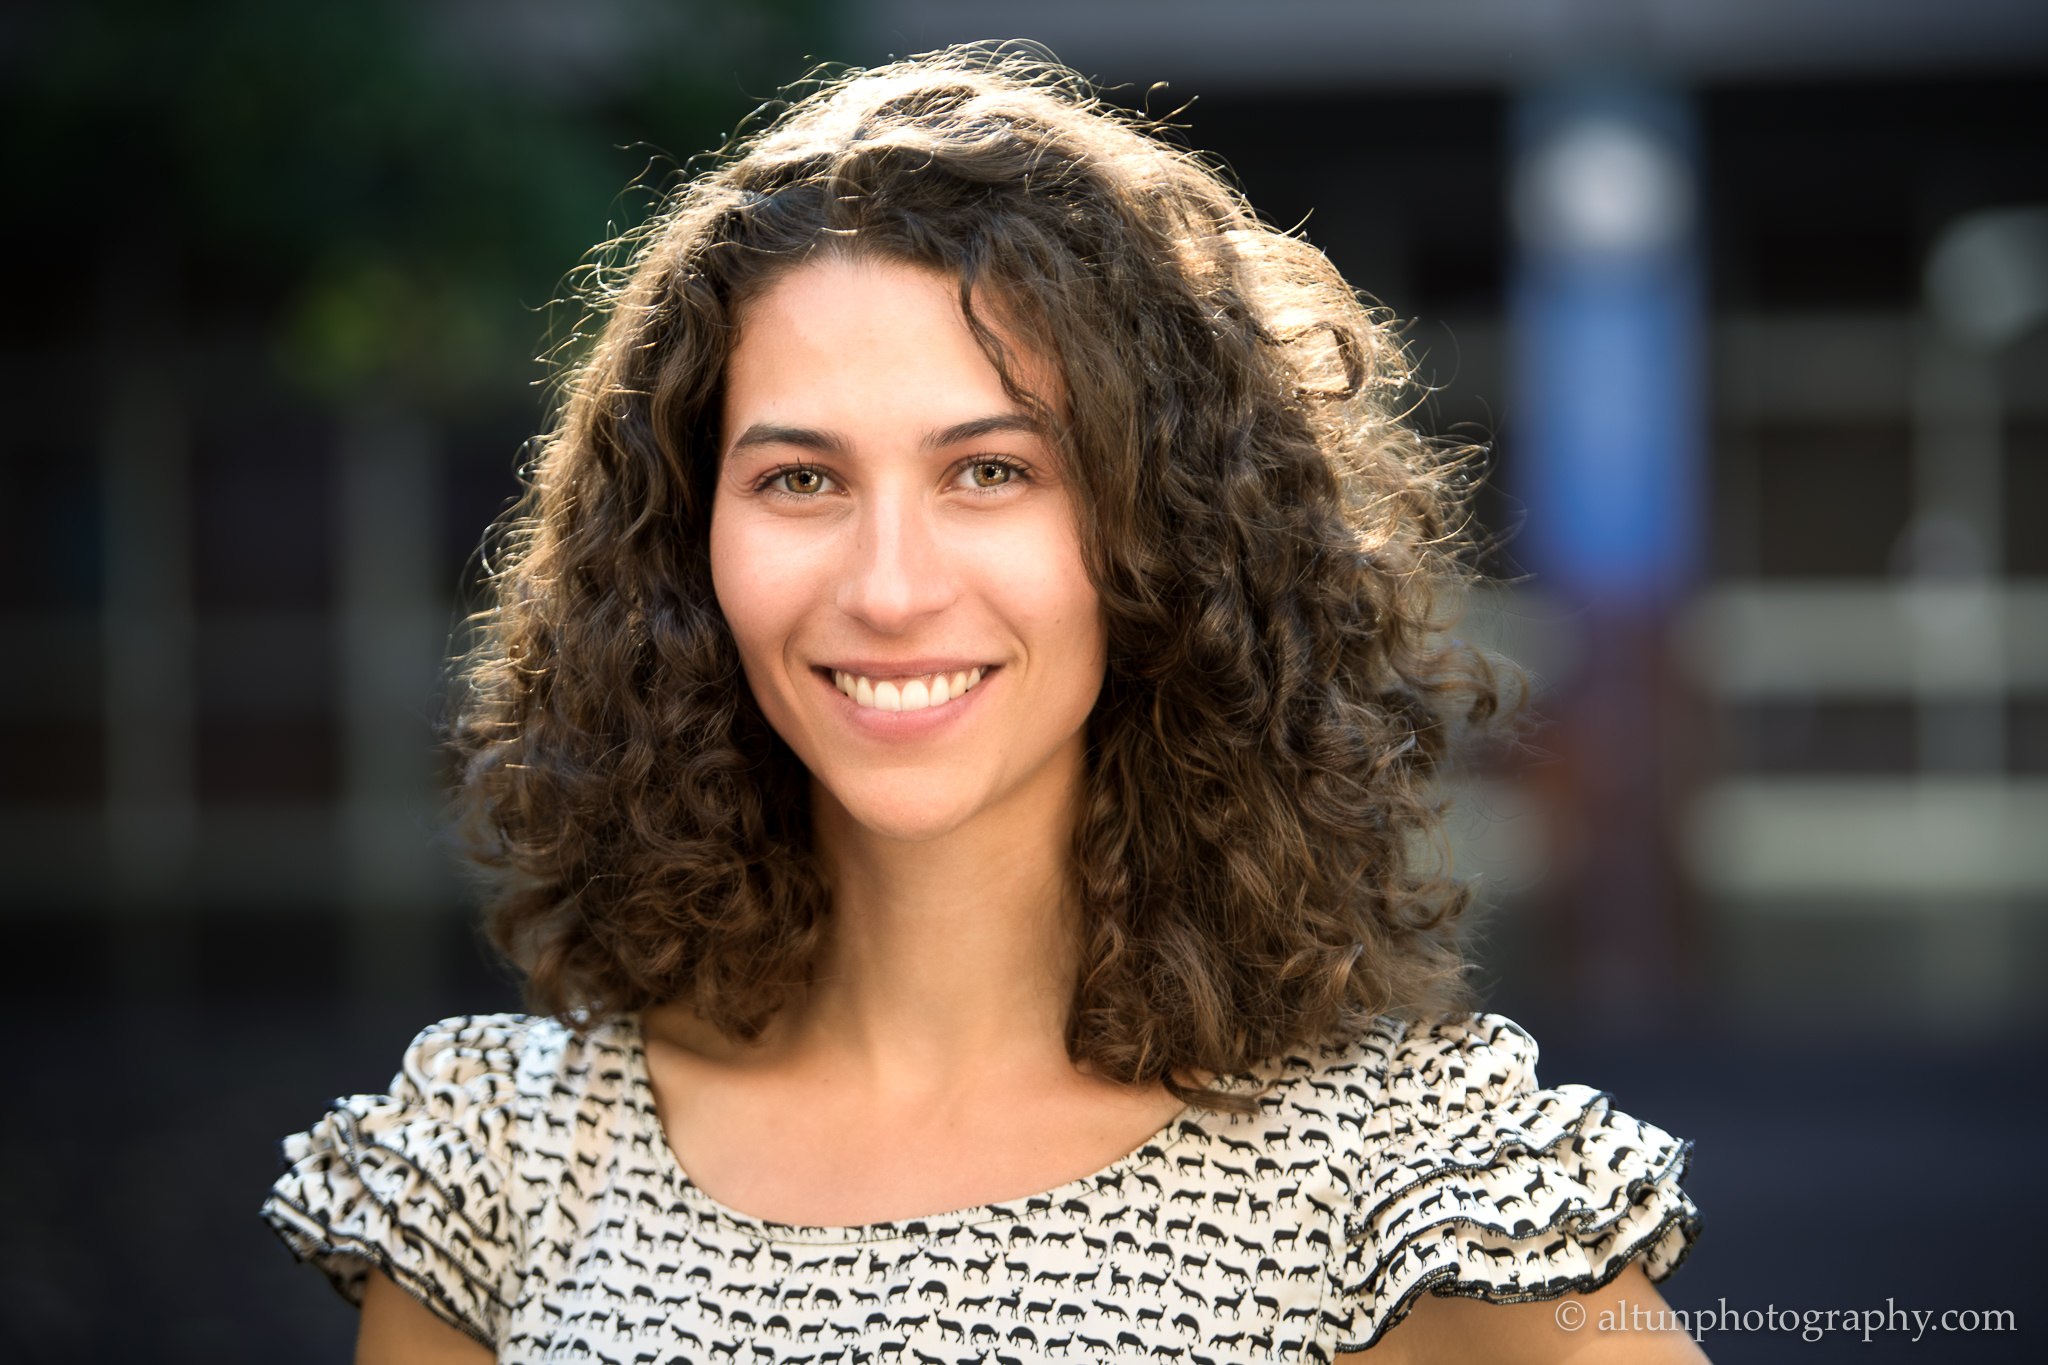
In the second image, I used the subject selection two times: first to increase the exposure and contrast on the subject, and then I inverted the subject selection to darken the background and add a bit of blue using white balance.
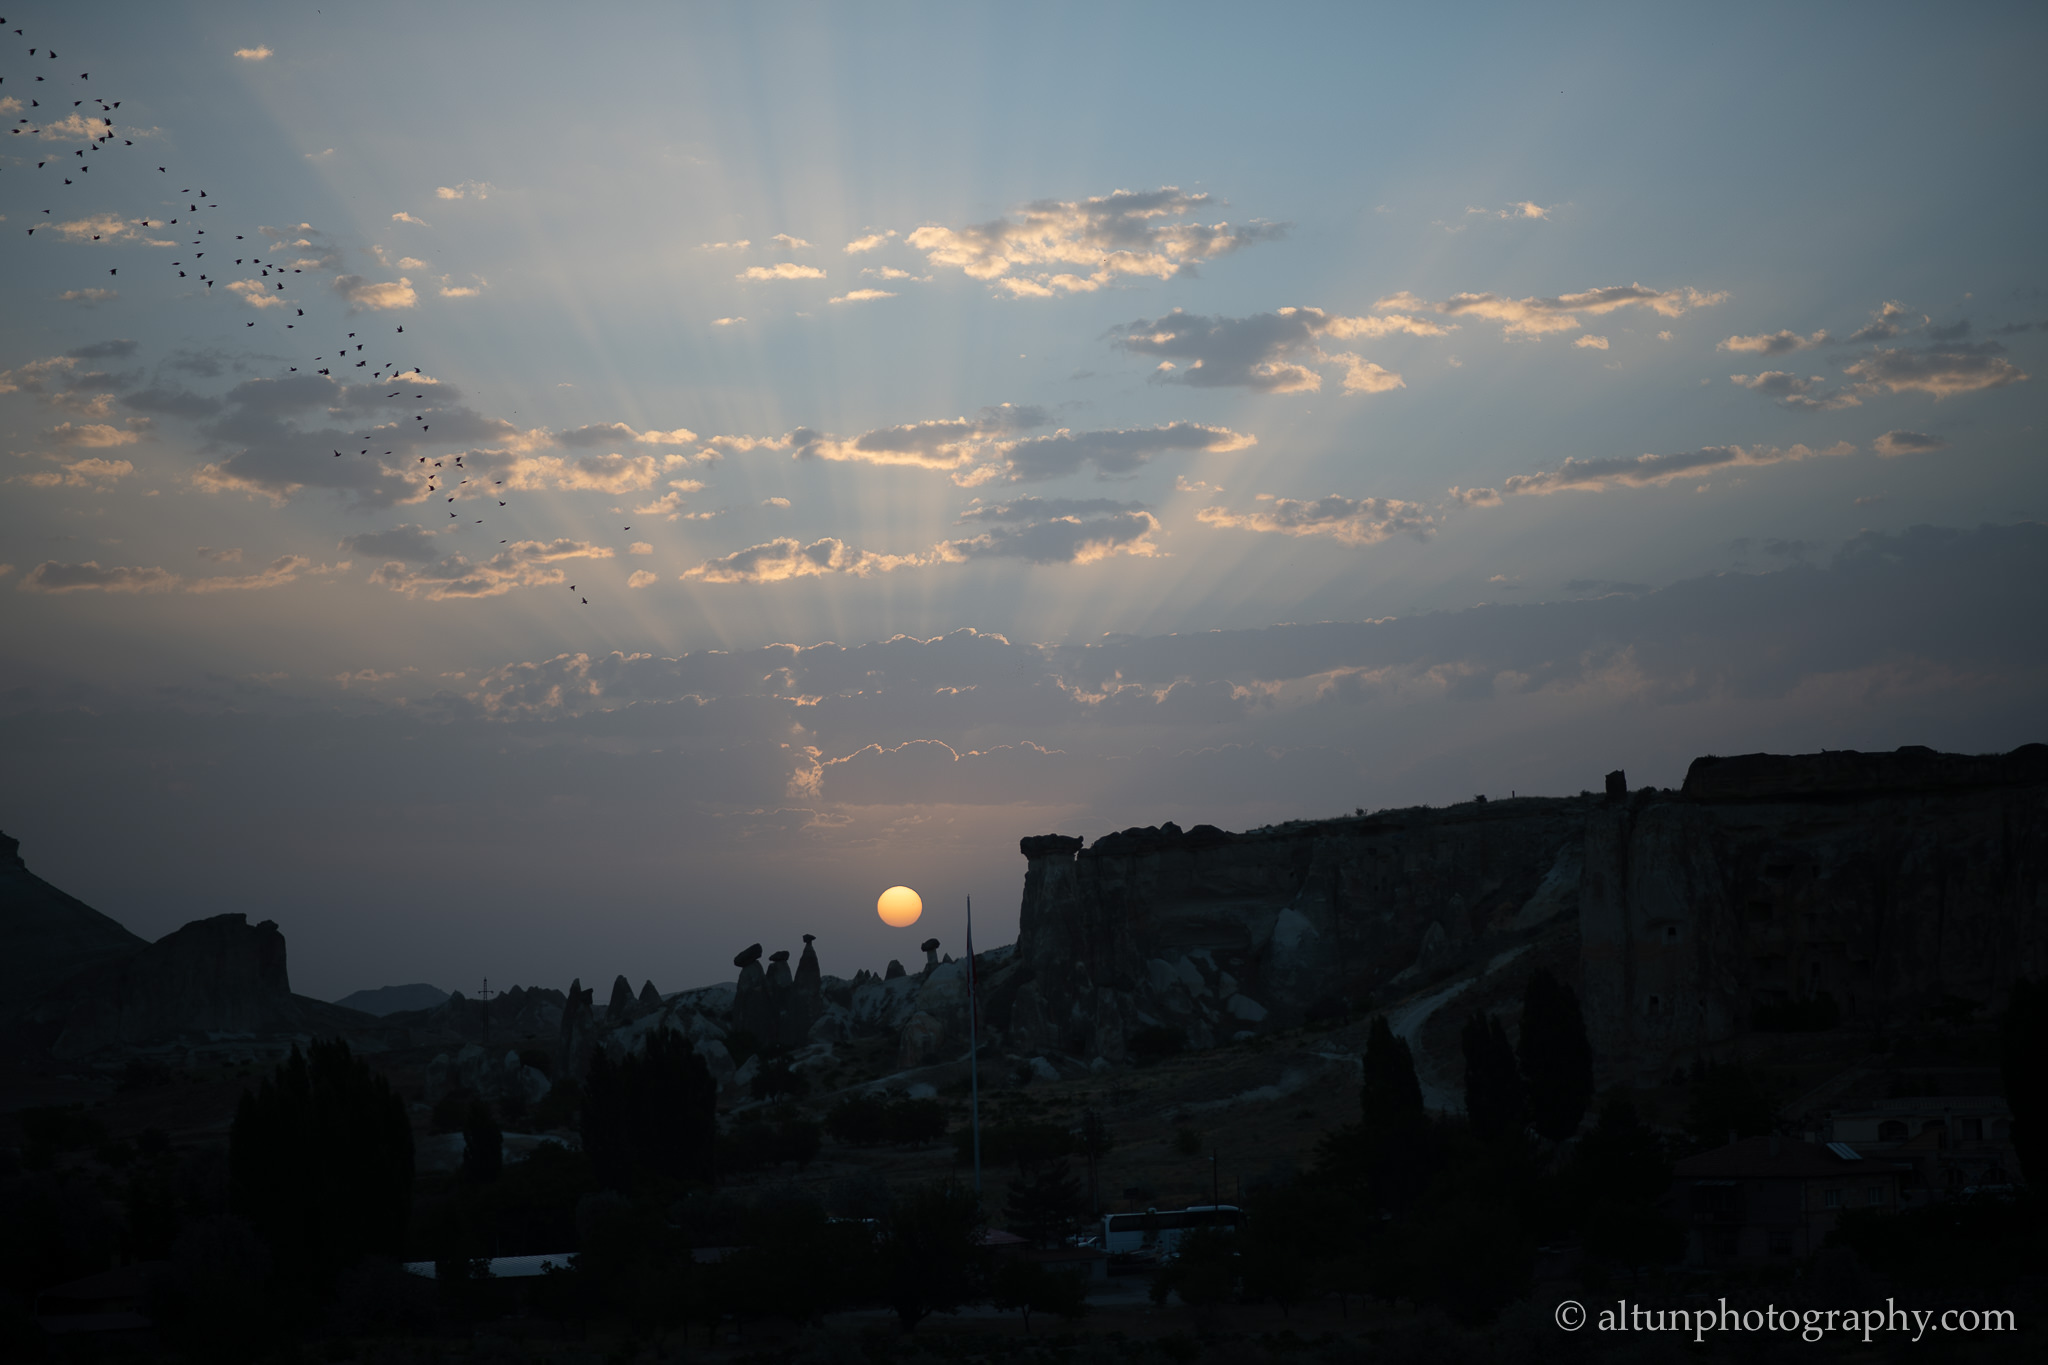
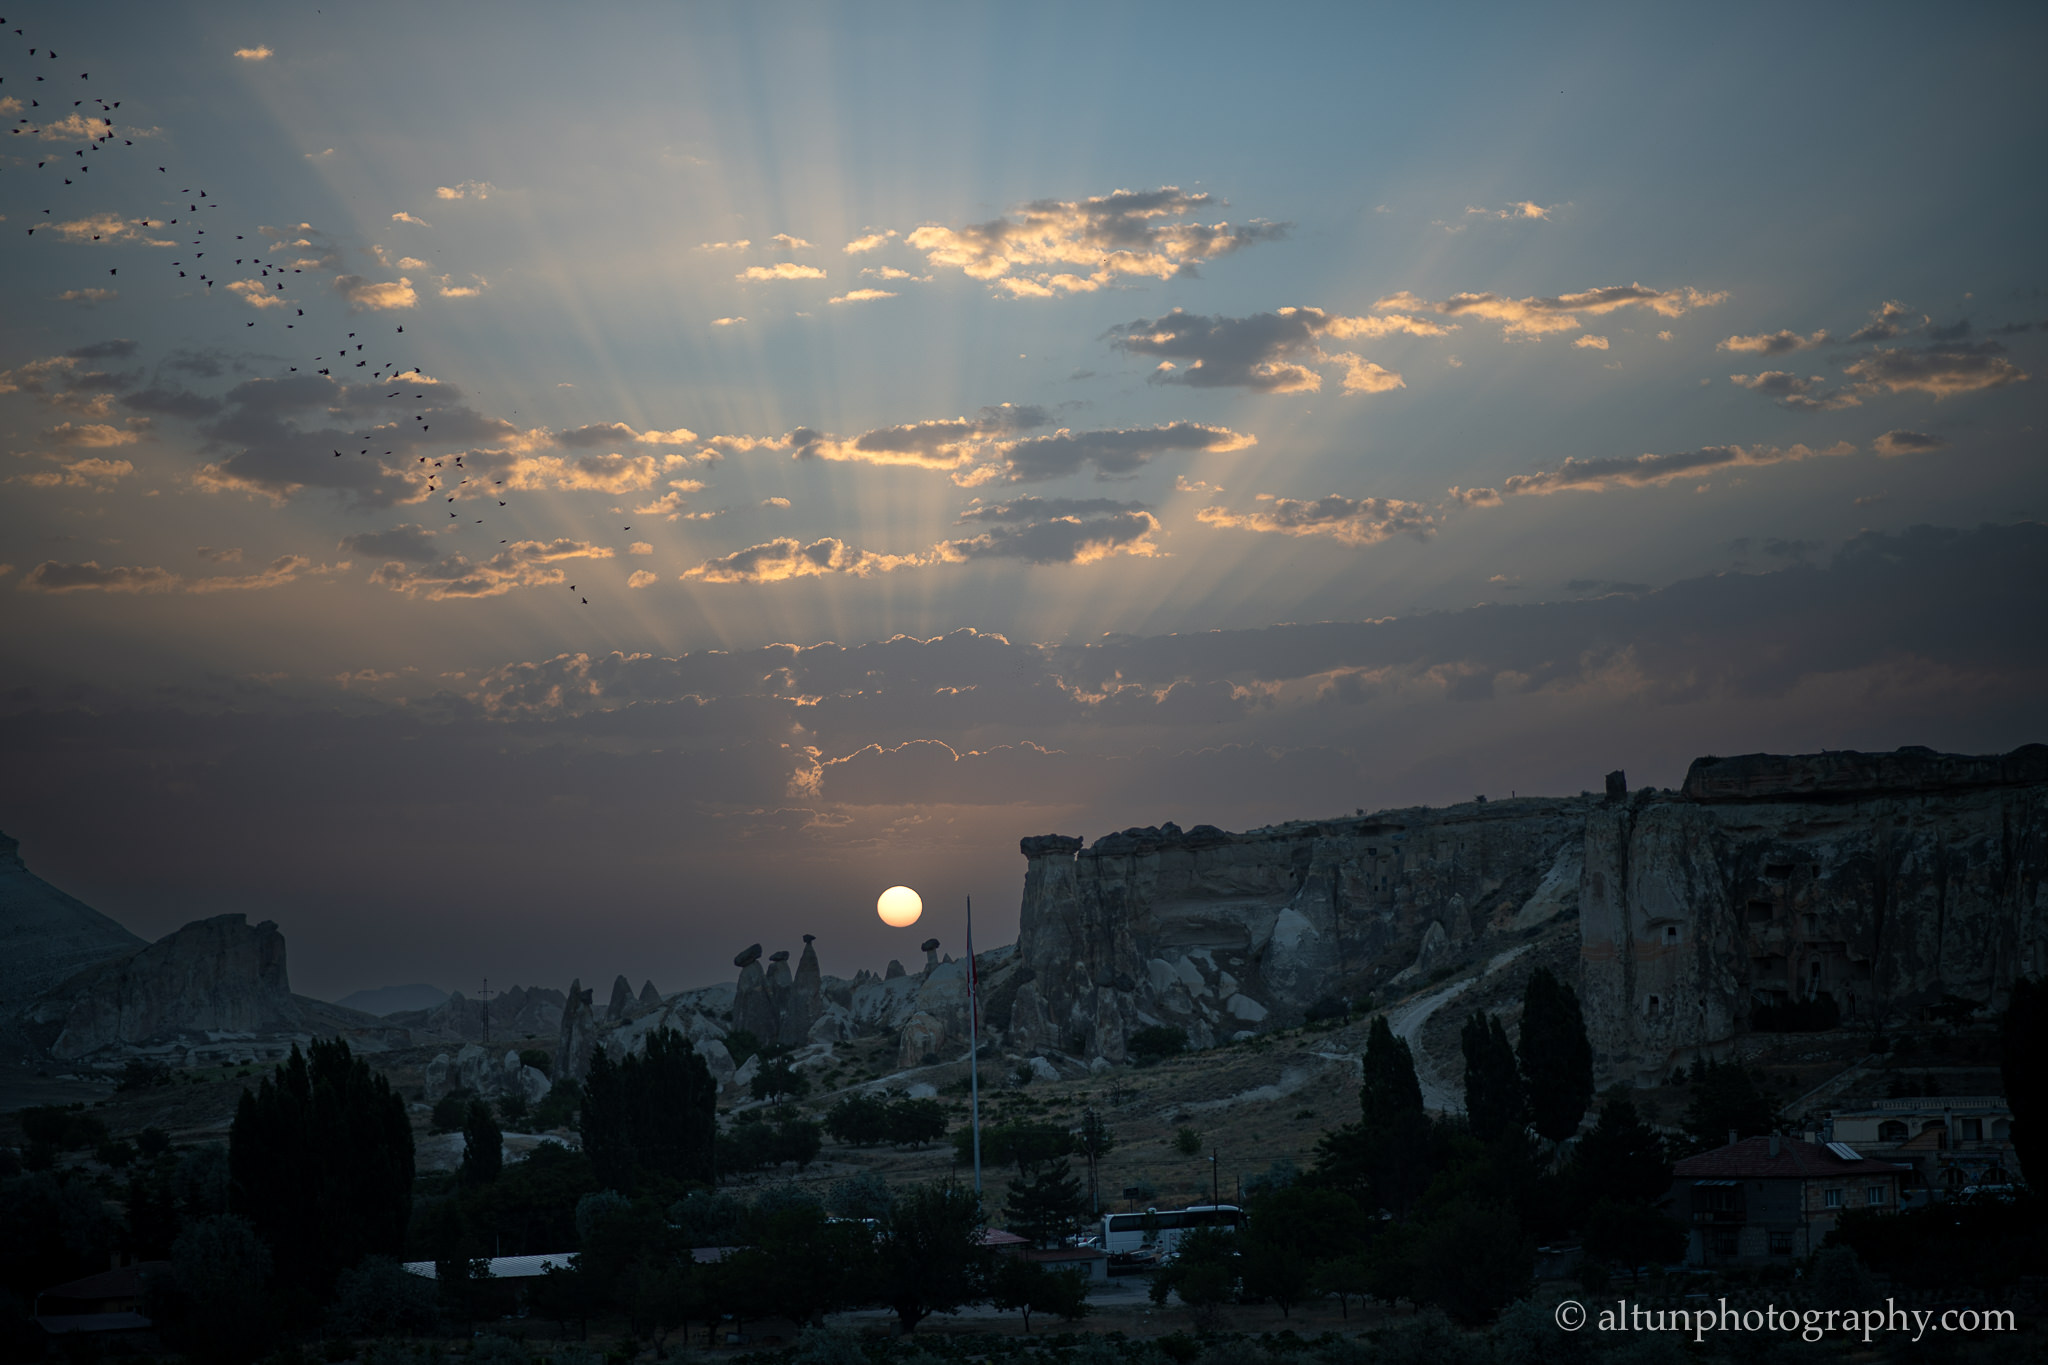
Here is an example of sky selection on a photo taken from a hot air balloon on our Cappadocia trip:
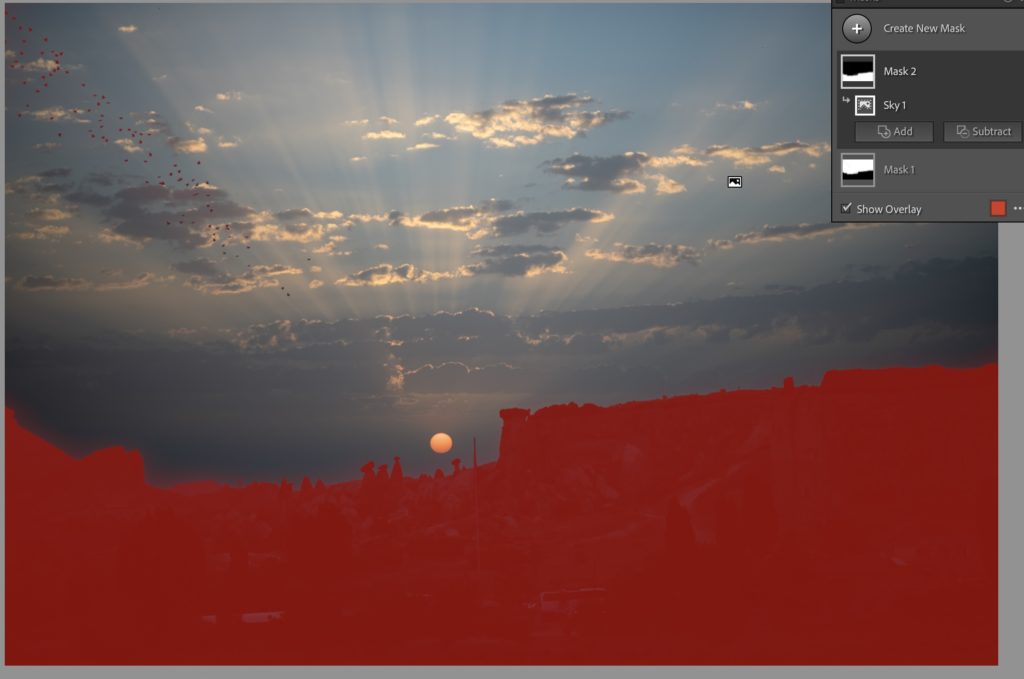
Before / After:
Enhanced Masking (v11 – Oct 2021)
Access all the local adjustments (including automatic subject or sky selections) from a single button:

Don’t get confused by the word “masking” (taken from Photoshop). It simply means applying your adjustments to a specific part of your photo. You can define that area using the following options:
- Automatic subject or sky selection
- Brush, radial & linear gradient : Same as previous version
- Color Range : Apply changes to a specific color
- Luminance Range : Apply changes to a specific luminance
- Depth Range : Only if your photo includes depth data, which is currently only possible with the recent iPhone’s portrait mode.
The best part of these new features is that you can stack different methods of selection. E.g., start with automatic subject, then add more with a brush.
Here’s an example from a previous Zermatt Photography Trip:
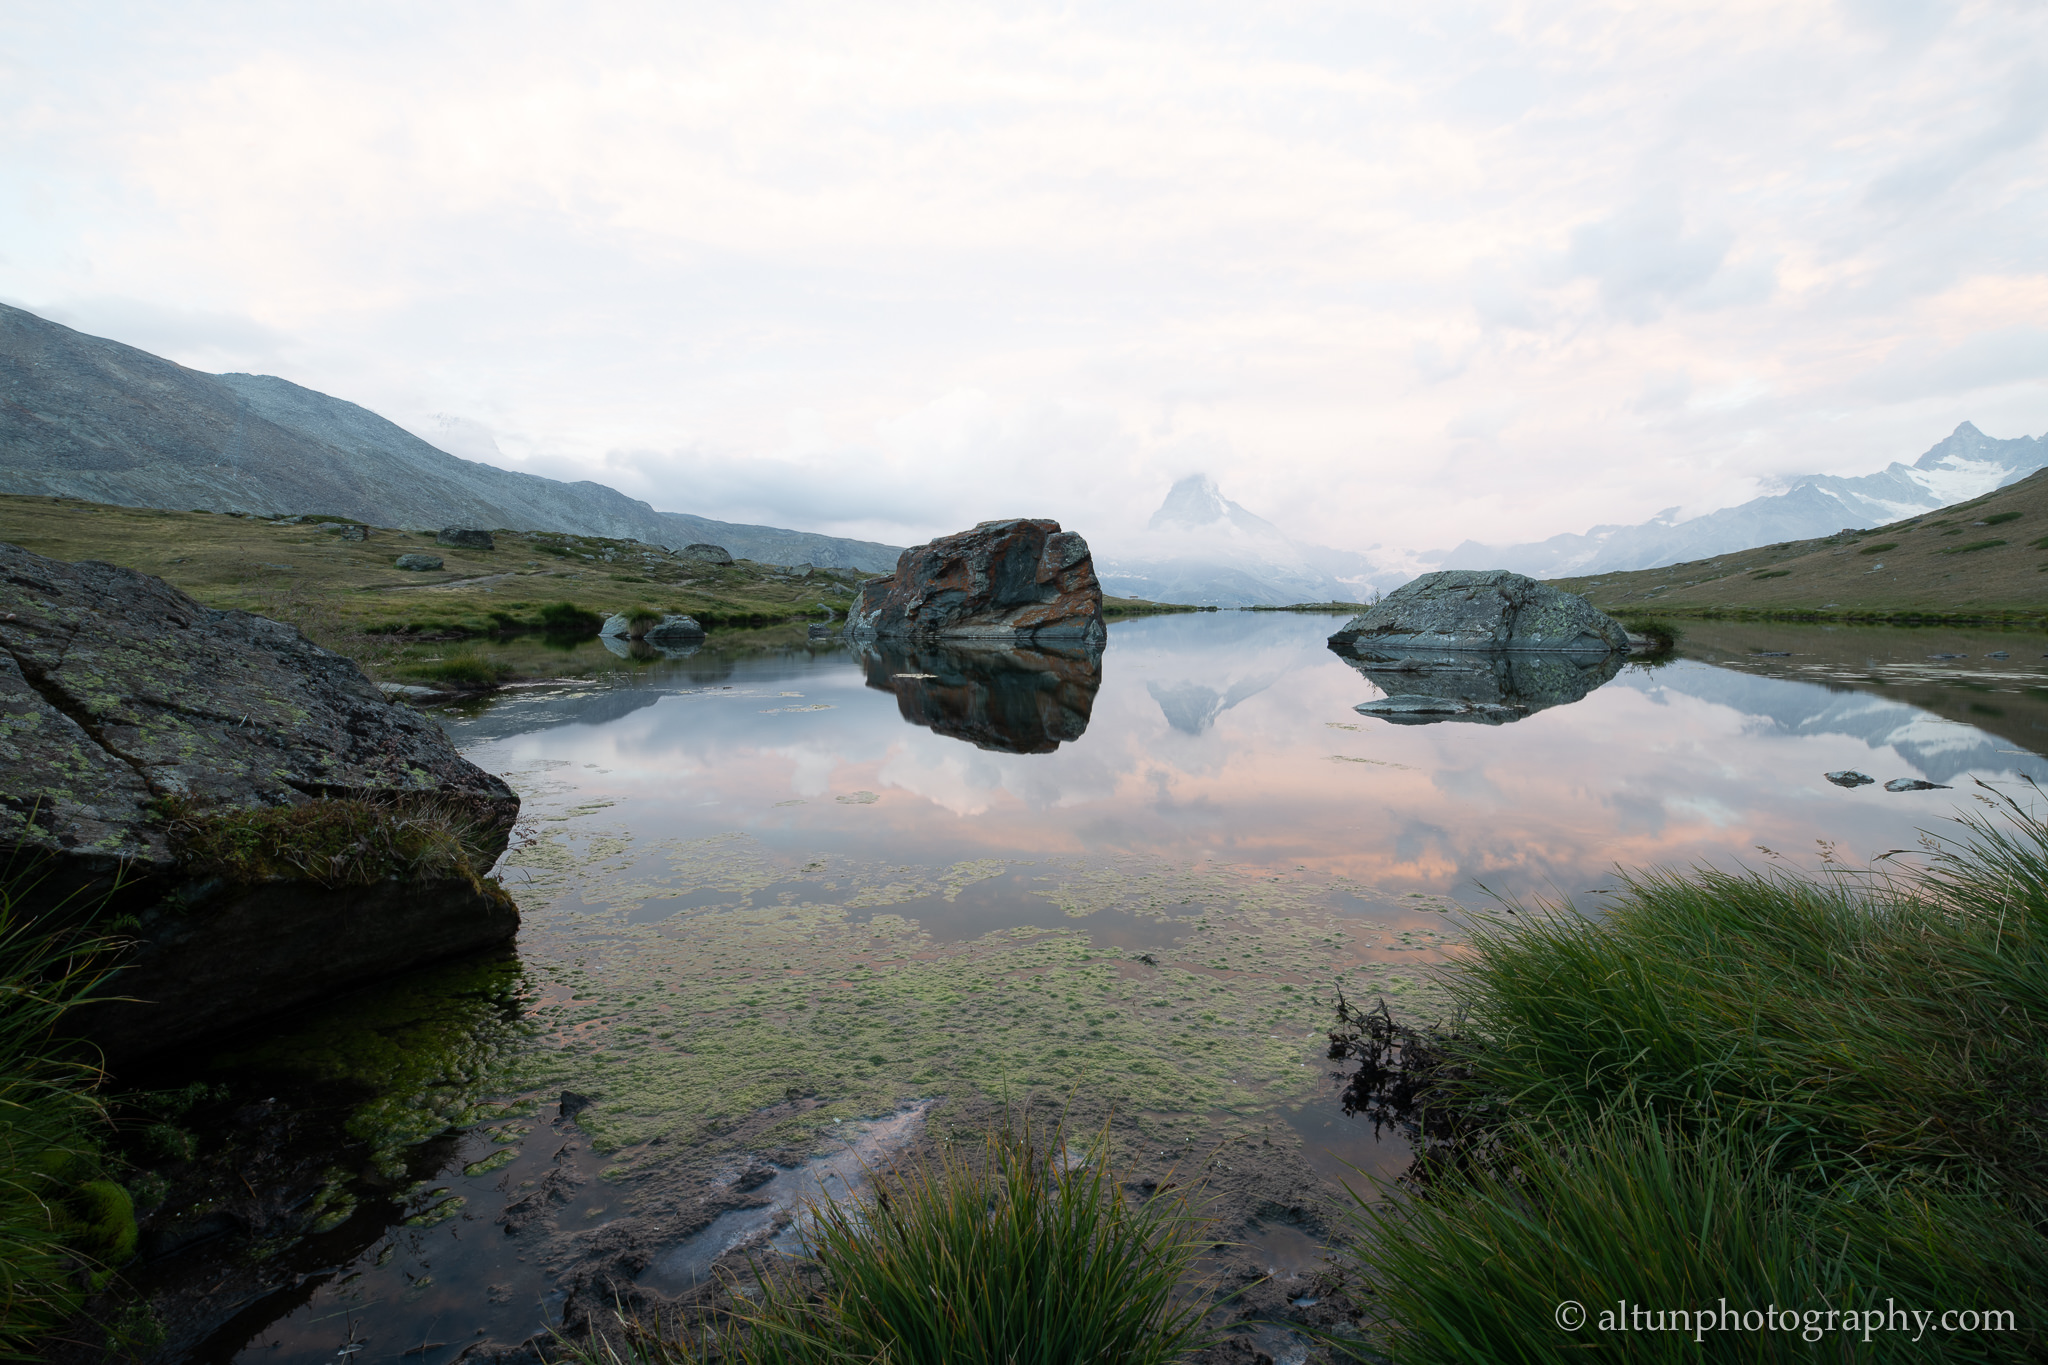
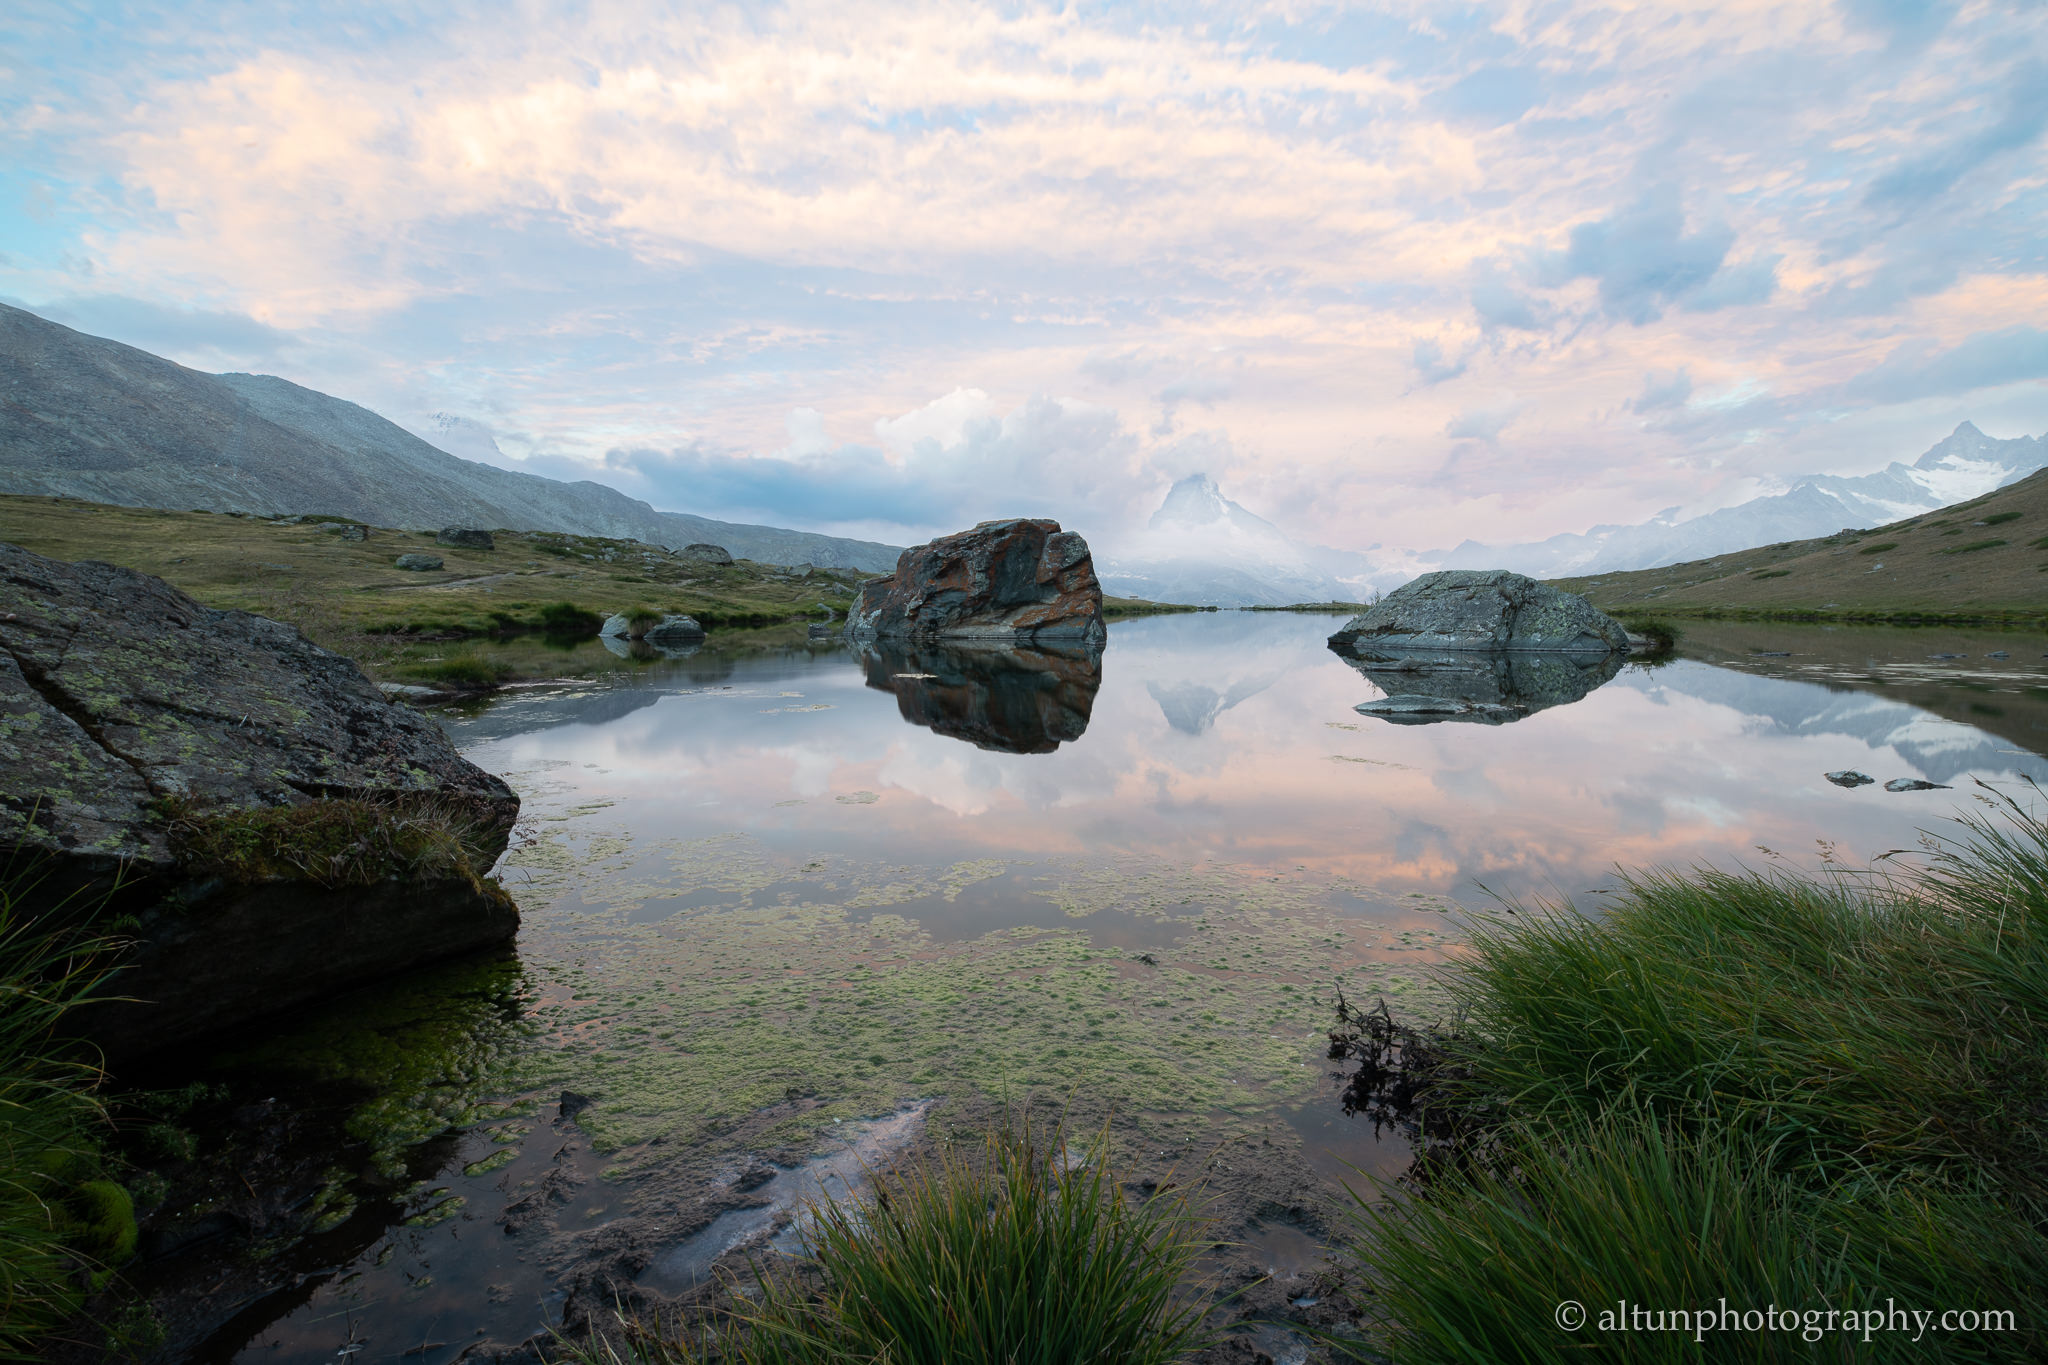
First I used automatic sky selection, which selected the Matterhorn as part of the sky. Then I used the brush tool to exclude the Matterhorn and applied exposure, white balance and saturation adjustments.
I hope you enjoy these new features as much as I do. If you would like to learn more about Lightroom, join one of our upcoming classes.
Lightroom Course by Swiss Photo Club:
Format & Price:
Learn this incredible software in a single 7-hour class, usually Saturday or Sunday. Price: CHF 390.-
See the upcoming dates in Western or Eastern Switzerland. I have also added a 2h practice workshop (in person in Geneva or on zoom) for those who simply want to practice these new features.
Course Content:
- Recommended file / folder structure to save your photos
- Using external drives: When to use, which models we recommend
- Recommended backup strategy to never lose your files
- How the Catalogue system works in Lightroom
- Lightroom Classic vs Lightroom vs Photoshop: When to use which software
- How to Import your photos and save to correct folders
- How to select your favorites using flags and ratings
- Applying keywords, using filters
- How to best use collections
- Develop Module: How to improve your photos with Global and Local adjustments
- Using Lightroom together with Photoshop
- Final effects (color grading, vignette, etc)
- Exporting photos with the correct settings


